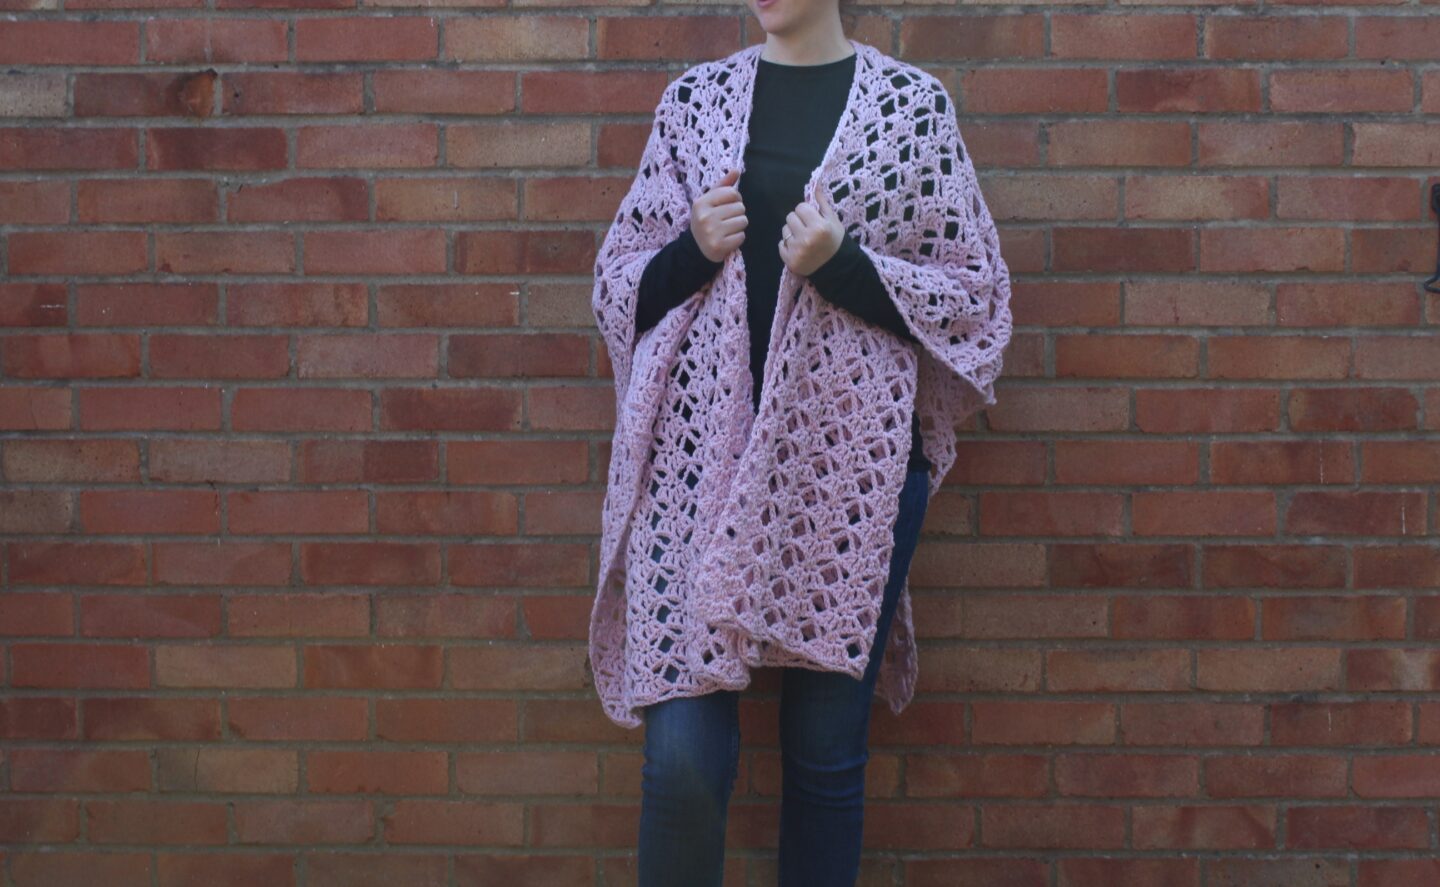
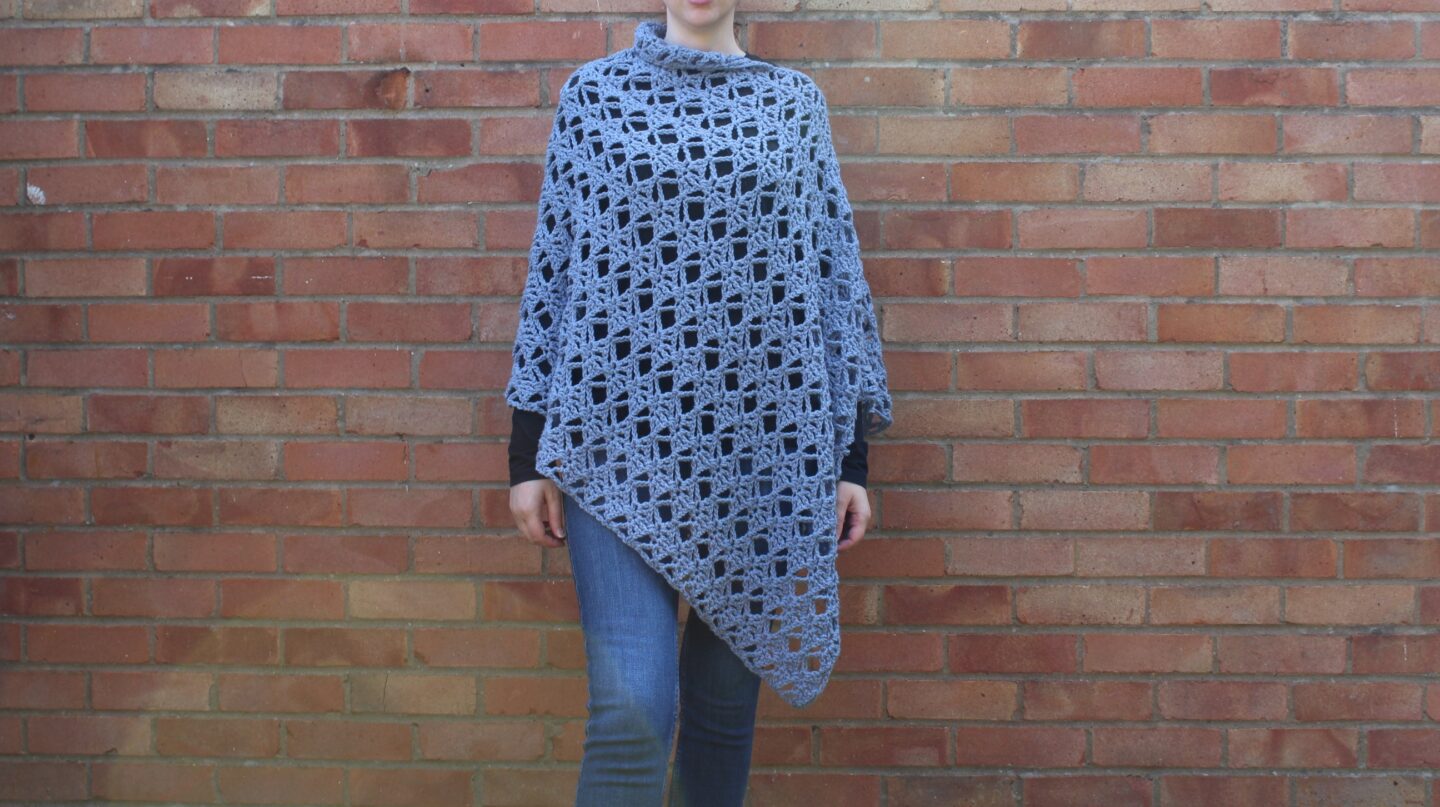
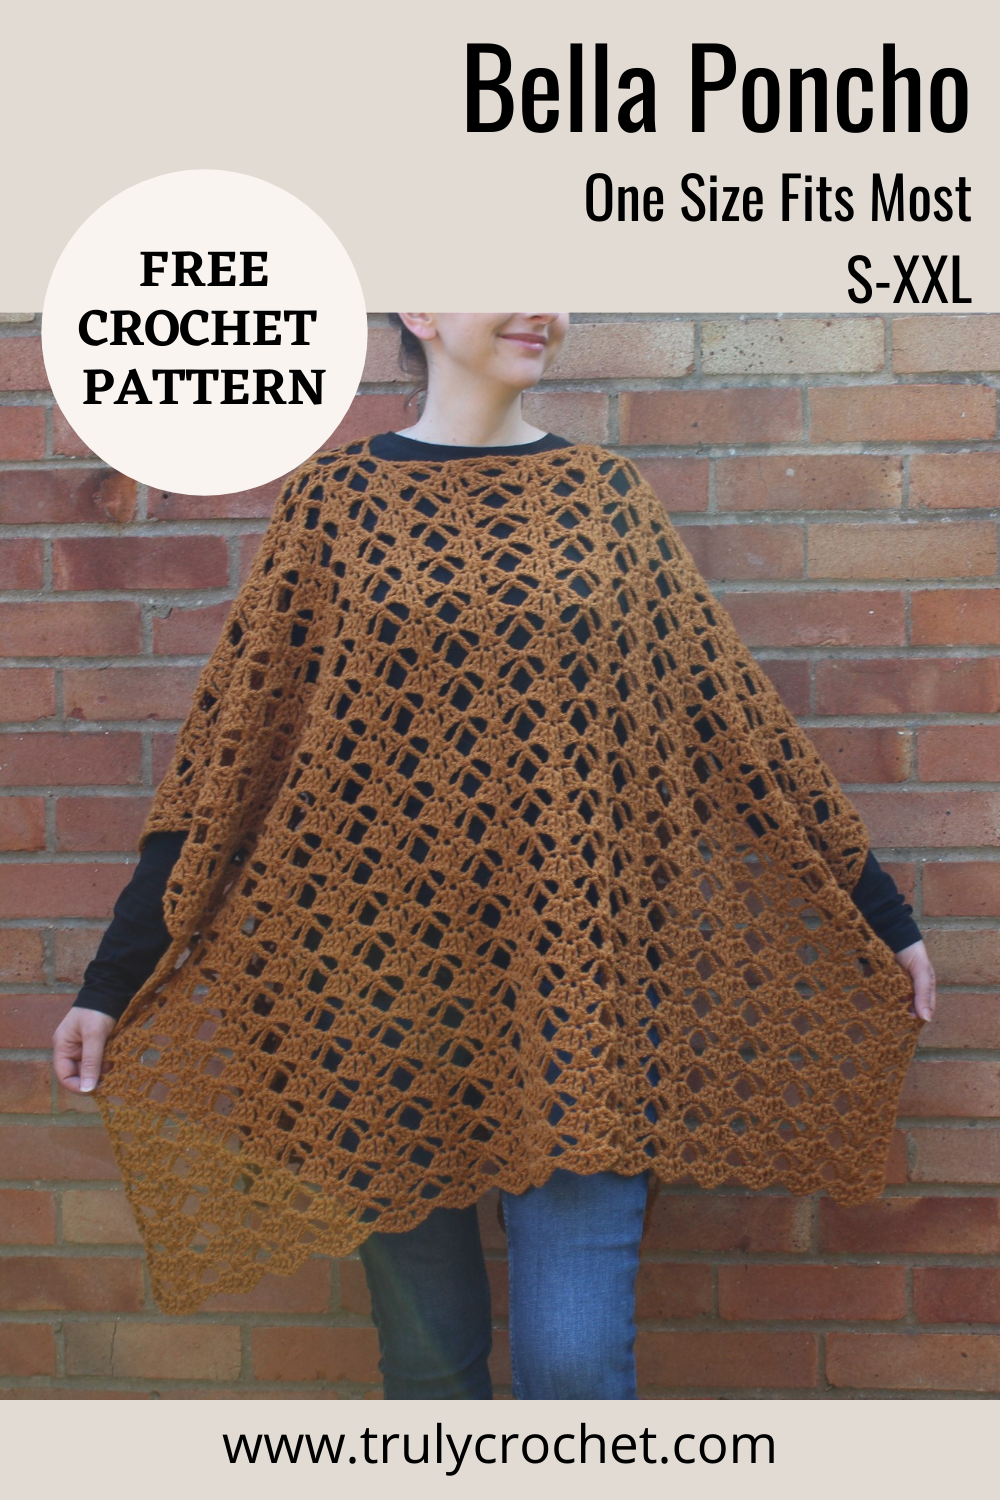
The Bella Poncho crochet pattern is a beautiful layering piece and so easy to make! You can get the free pattern below (scroll down) or purchase the ad free, printable PDF version here.
Design
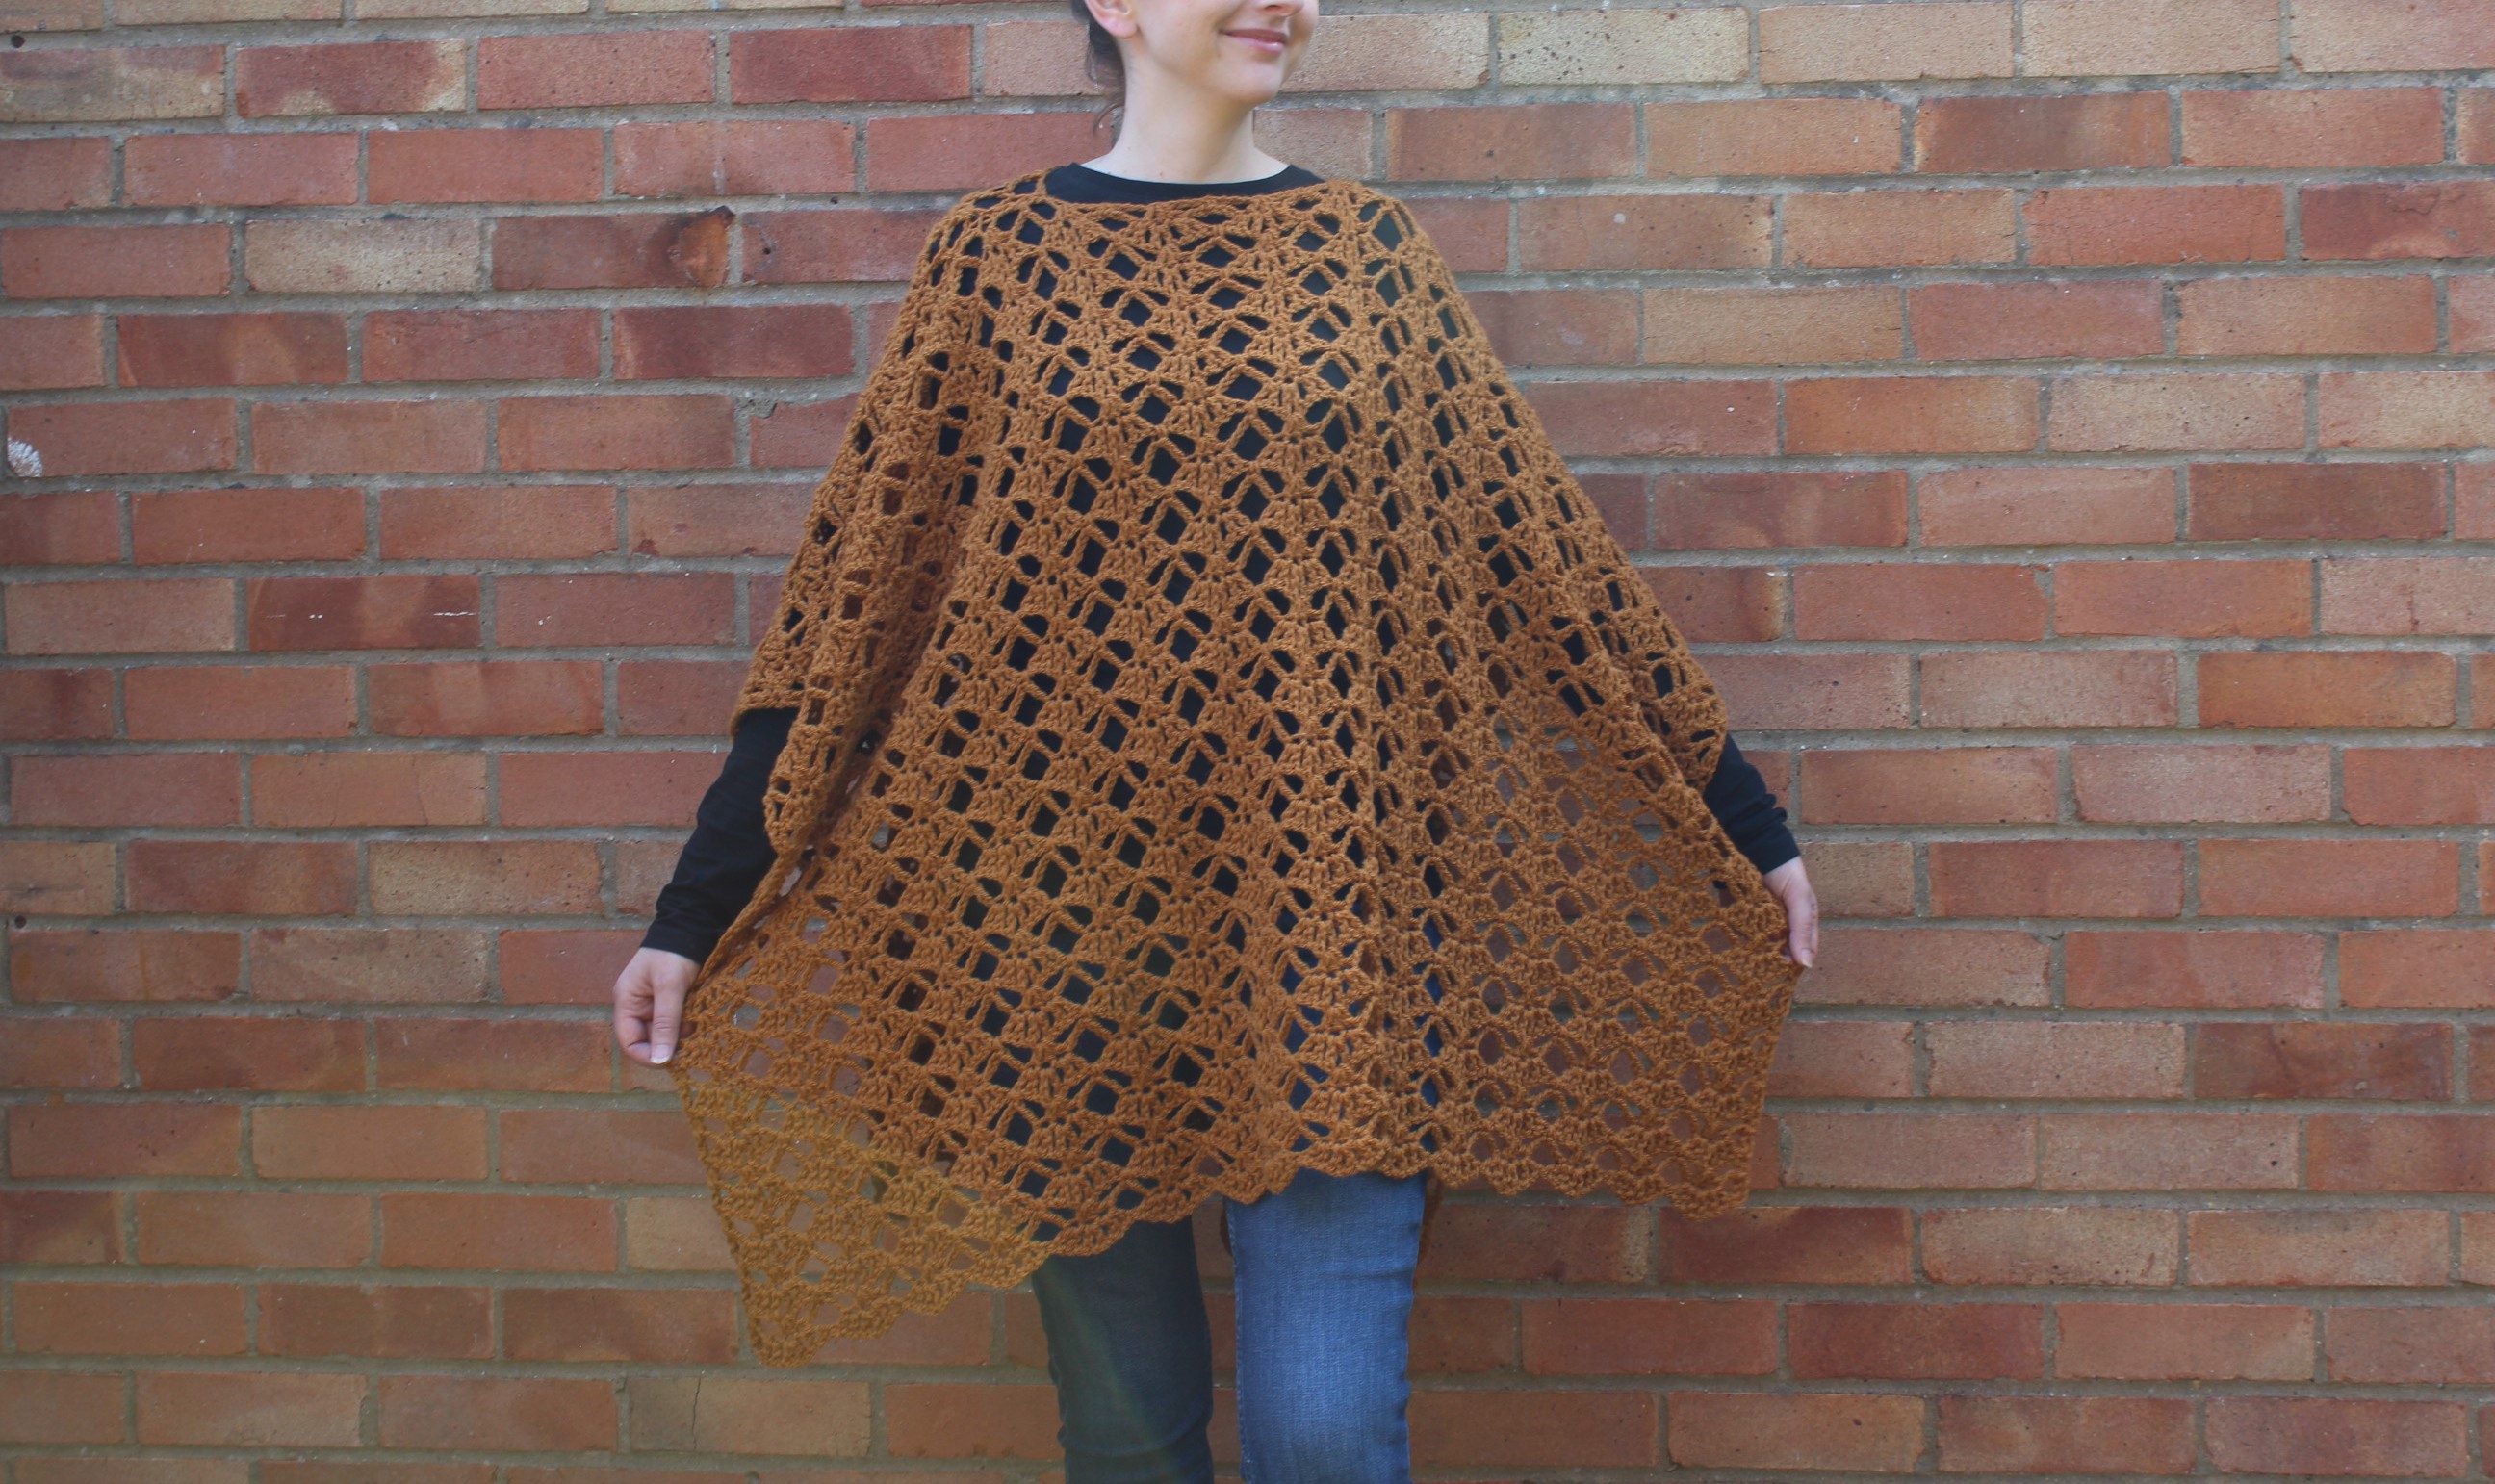
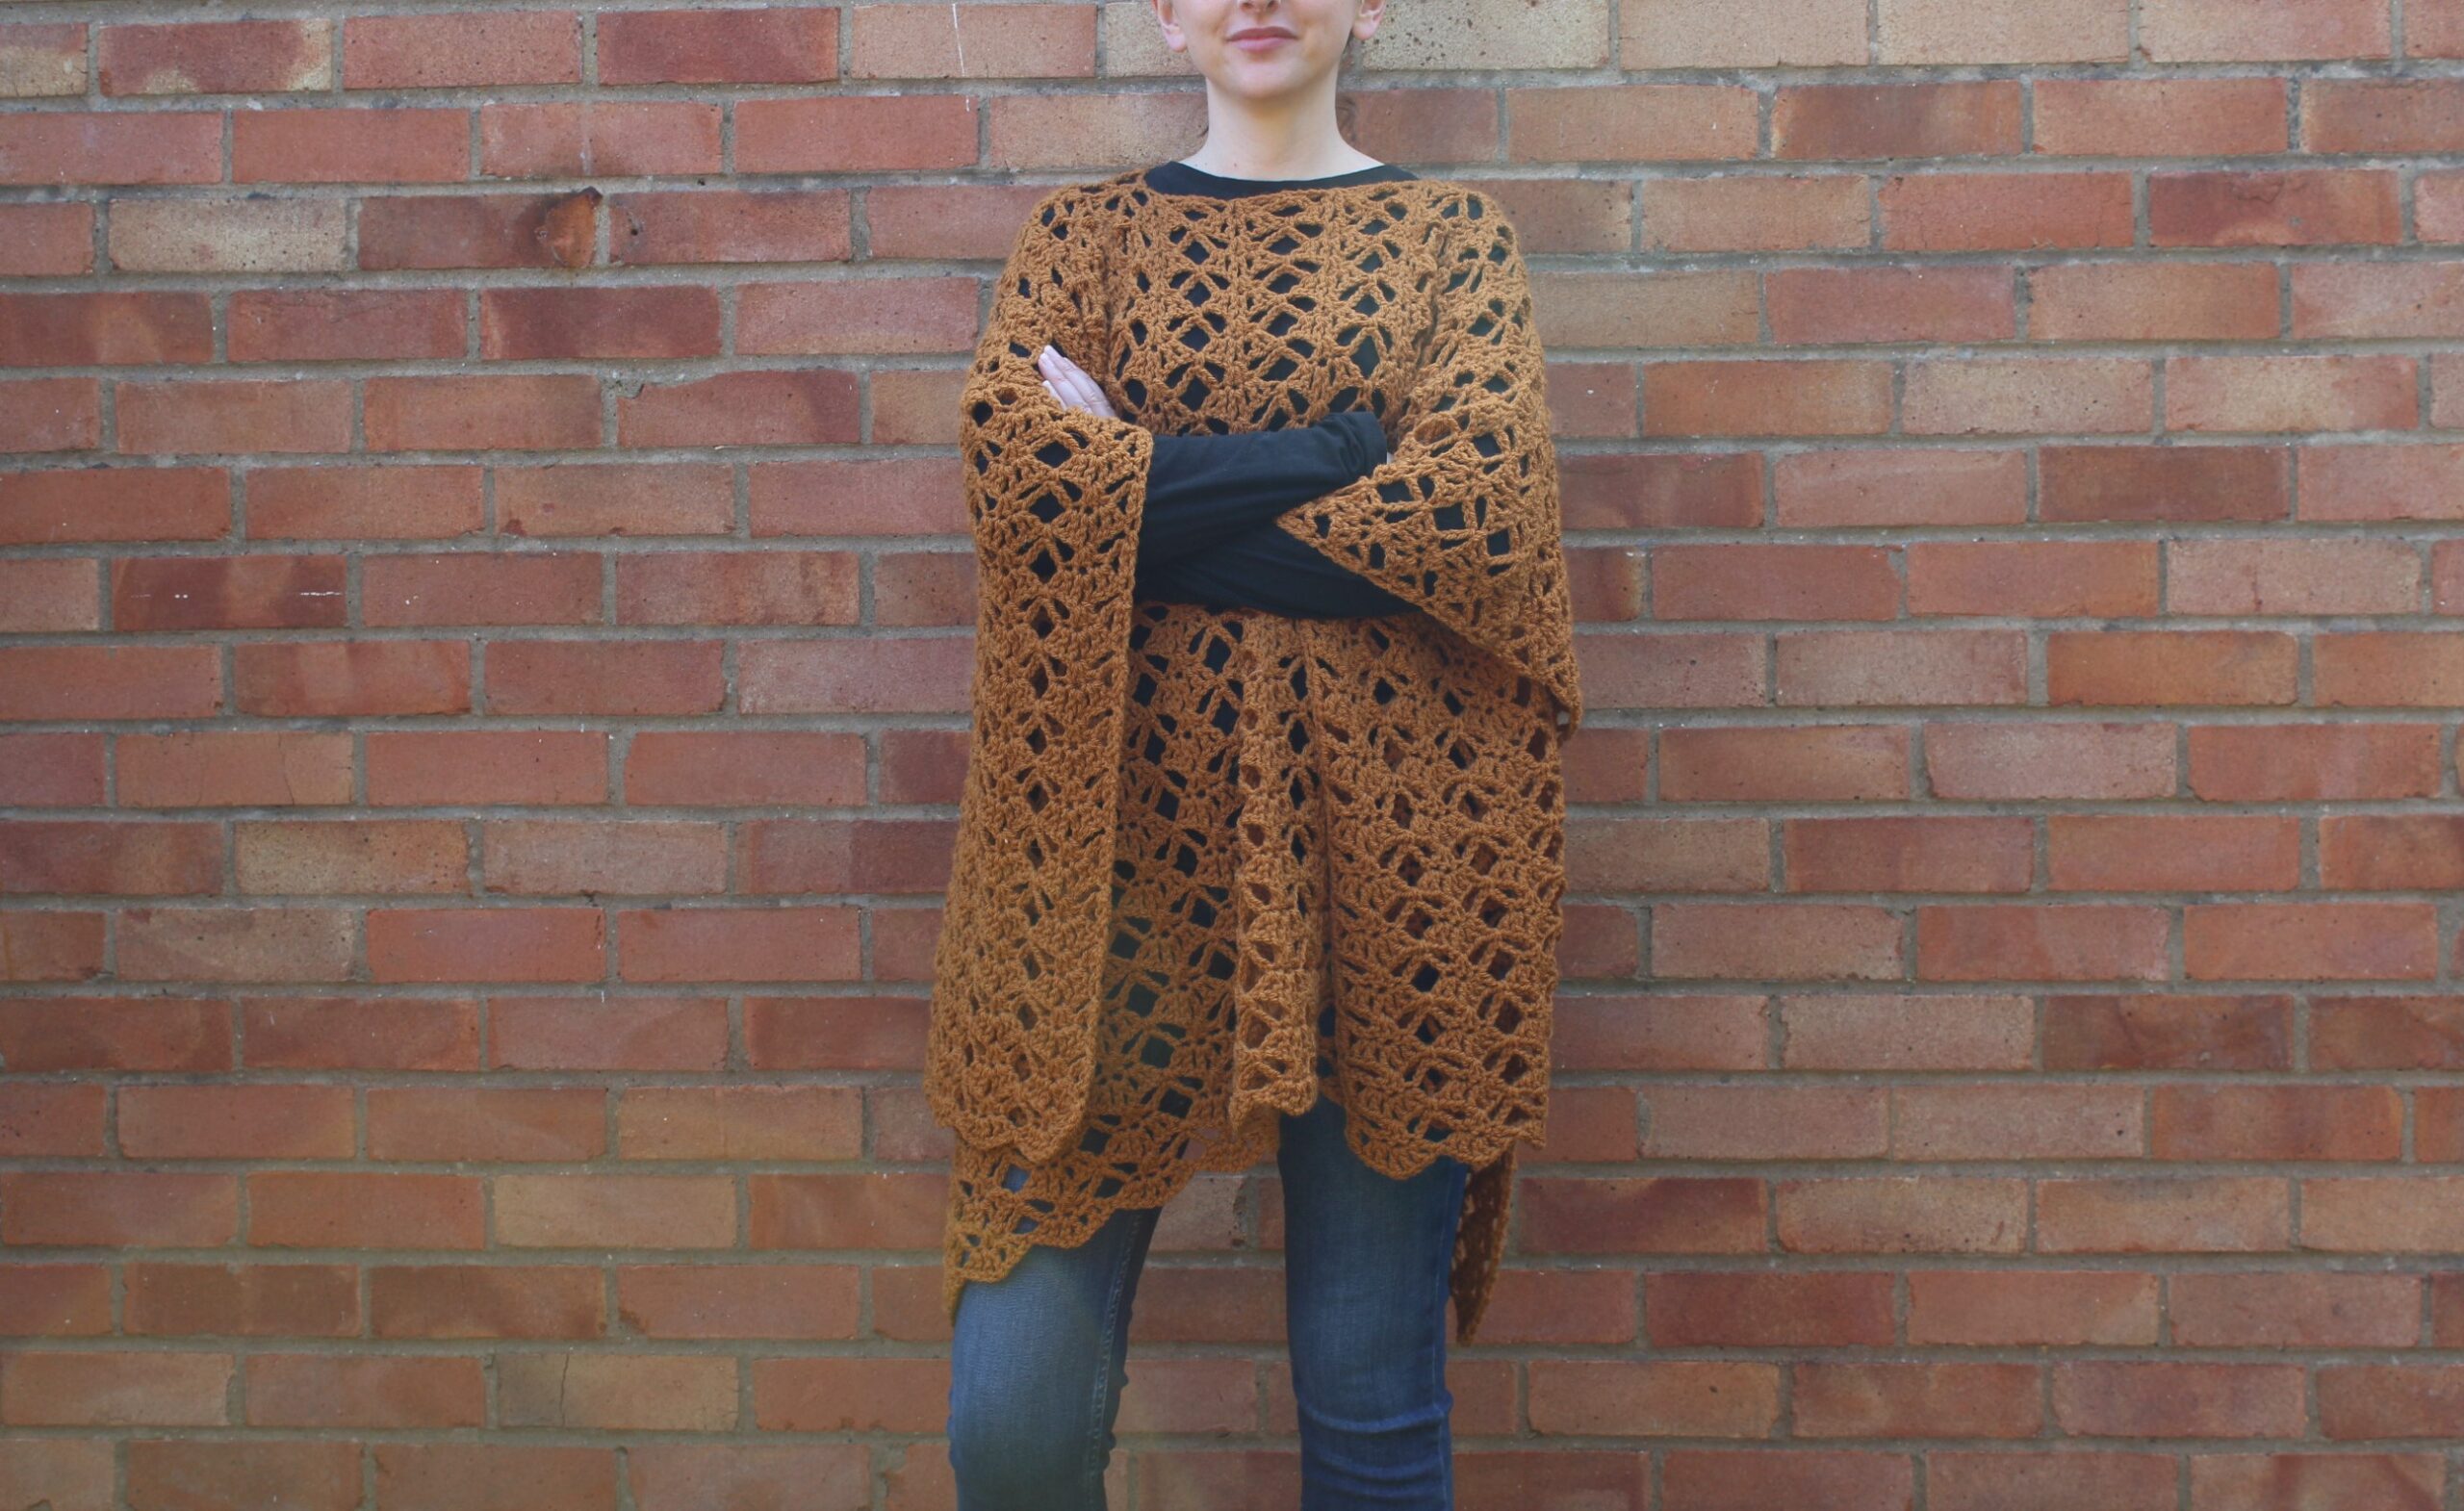
The Bella Poncho is an oversized poncho and is made with a larger hook and uses open lacy shell stitches with only a two row repeat. This is such an elegant looking poncho and the stitch pattern is so easy to memorize that it can be made up in no time at all. I wanted the Bella Poncho to feel lighter and more of a drapey look than a heavy fabric so this is why a size 8mm crochet hook was used with an aran yarn.
An oversized poncho is a perfect piece to add for the colder months as you can just throw it on over a sweater or a long sleeved top and it will look great on but it is also great for the cooler summer evenings.
What Size Does The Poncho Fit?
With the poncho being oversized it means it can fit a range of sizes from Small to XX Large depending how oversized you wanted the poncho to look! If you wanted the poncho to fit a bit smaller especially if you are a size small you can always use a hook that actually corresponds to the yarn like a 5mm this will make the poncho smaller but still oversized but it will end up less drapey.
How Do I Crochet This Poncho?
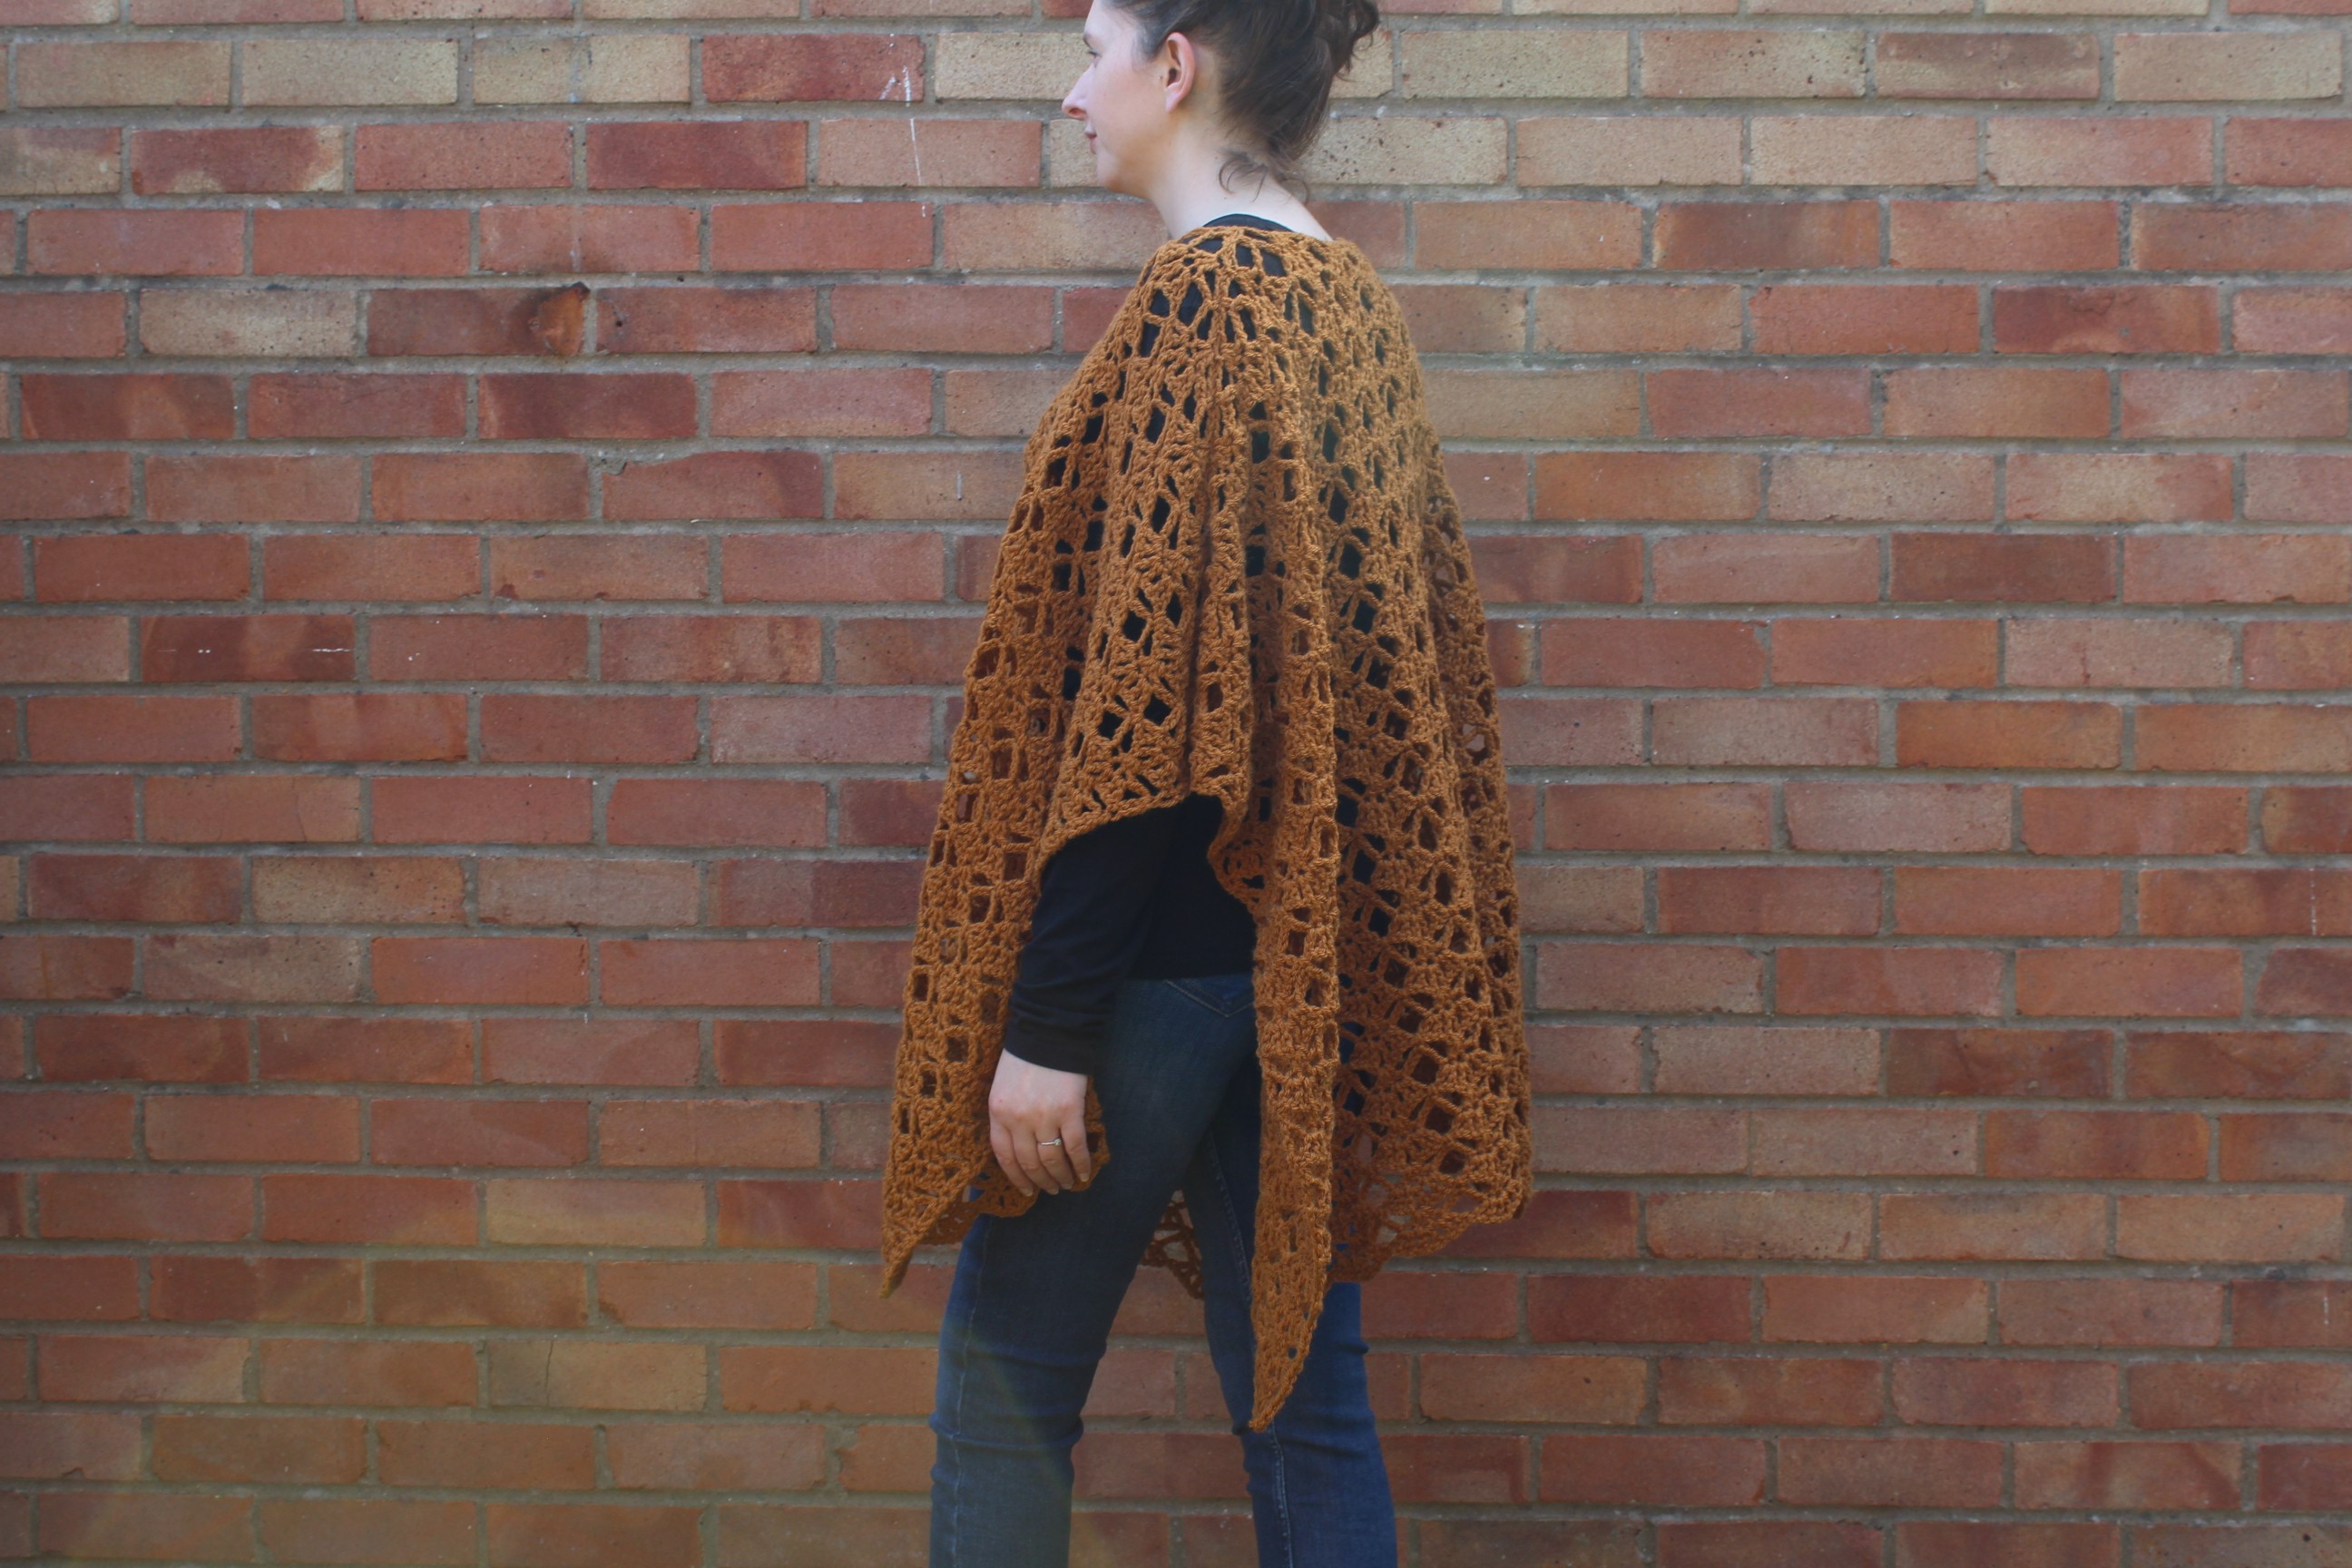
This oversized poncho is made by crocheting two rectangles, blocking your rectangles and then strategically seaming the rectangles together which makes it a super easy piece to make with no shaping involved which gives it more of a drapey boxy fit and can be done in no time and in any color to suit you.
Is It Easy To Crochet?
This crochet pattern is a fairly easy crochet pattern using basic crochet stitches, you do need to pay attention on where to put your stitches but a beginner could manage this and then the seaming is very straightforward too.
What Are The Multiples?
- No multiples are available for this pattern.
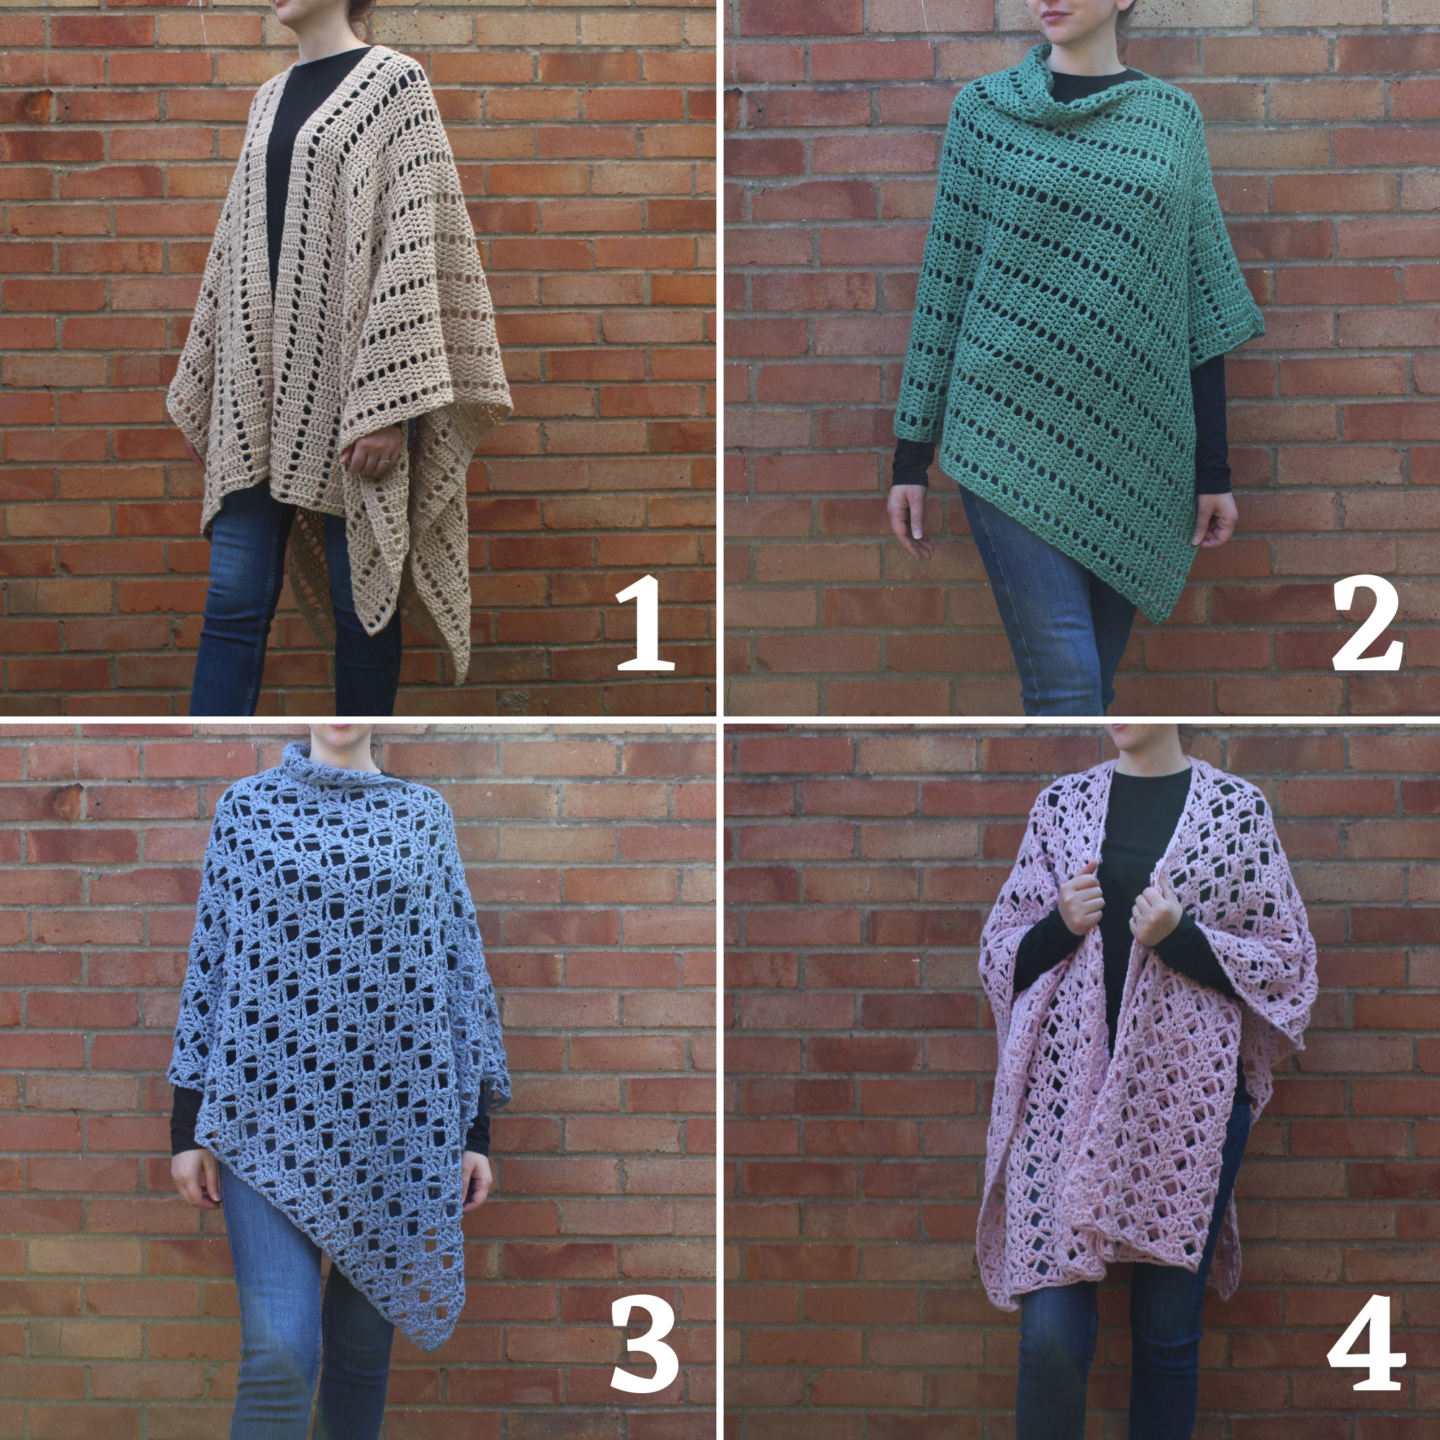
Other Patterns You May Like:
Yarn:
For this poncho pattern i used Hayfield Bonus Aran which has some lovely natural colors to choose from. It is made with 80% acrylic and 20% wool and it comes in a huge 920 yard ball!
You will need 1700 yards for this ruana pattern.
Buy the wool for this project HERE
** I would highly recommend using a 100% acrylic or 80% acrylic and 20% wool yarn, i don’t recommend using a yarn that is a 100% natural fibers as the poncho will end up smaller because the yarn will be a lot thinner than acrylic **
Yarn Substitutions:
You can easily substitute the yarn i used for a different one, here are some suggestions below to help you choose your perfect yarn.
Why A Premium AD Free PDF Pattern?
Below you will find the full free crochet pattern with ads, but i also like to offer a nicely formatted ad free PDF version of the pattern as i know many of you like to crochet whilst out and about, in the car, at the beach, in a cafe and lots of other places. This way you can print out the PDF version and pop it in to your bag or you can also save it to files on your phone and have it wherever you are without having to worry about if you can access the pattern online.
The premium PDF version of this pattern can be purchased HERE!
Save The Pattern:
- Add this pattern to your Ravelry queue HERE
- PIN this pattern to your Pinterest boards HERE
- Join our newsletter for FREE crochet patterns HERE
Materials:
Size – One Size Fits Most (S-XXL)
Width of each rectangle – 44 inches approx
Length of each rectangle – 31 inches approx
If you wanted the poncho to fit a bit smaller especially if you are a size small you can always use a hook that actually corresponds to the yarn like a 5mm this will make the poncho smaller but still oversized but it will end up less drapey.
Gauge N/A
Hook 8mm US L/11
Yarn Weight Any aran yarn
I would highly recommend using a 100% acrylic or 80% acrylic and 20% wool yarn, i don’t recommend using a yarn that is a 100% natural fibers as the poncho will end up smaller because the yarn will be a lot thinner than acrylic.
Recommended Yarn Hayfield Bonus Aran – Ginger
Yardage 1700 yards
Other Supplies
Tapestry Needle – Weaving in ends
Abbreviations:
Ch Chain
Sc Single Crochet
Hdc Half Double Crochet
Dc Double Crochet
Tr Treble Crochet
St(s) Stitch(es)
Beg Beginning
Written In:
This pattern is written using American standard crochet terminology.
Bella Poncho Pattern
Notes:
- Model is a size US 8/10 or UK 12/14 and 1.70 meters or 5ft 6in
- Ch1 and Ch3 at the start of each row does not count as a stitch from here and throughout.
- When blocked this rectangle will stretch quite a bit, mine went from 25″ to 31″ length.
- If you would like your poncho longer, remember you will need more yarn.
- If you change the hook size to make the poncho smaller, yarn amounts will change.
Let’s get to the pattern!
Remember that you can choose the neat ad free, printable PDF version HERE.
Make 2:
R1. Ch130, 1sc in 2nd ch from hook * Ch3, skip next 3chs, 3dc in next ch, ch3, skip next 3chs, 1sc in next ch * Repeat across, turn
R2. Ch3, 1tr in very first sc st * Skip next ch3 loop, work (1dc, ch1, 1dc, ch1) in each of the next 2dc, work (1dc, ch1, 1dc) in next dc ** Skip next two ch3 loops * Repeat across from * to * ending last repeat at ** skip last ch3 loop, 1tr in last sc, turn
R3. Ch1, 1sc in very first tr st * Ch3, skip next 2 ch1 spaces, 3dc in next ch1 space, ch3 ** skip next two ch1 spaces, 1sc between next 2dc * Repeat across from * to * ending last repeat at ** Skip next two ch1 spaces, 1sc in last tr st, turn
Repeat rows 2 and 3 until rectangle measures 25 inches finishing on row 2.
Fasten off and weave in ends. Make second rectangle. Move on to blocking.
Blocking:
Soak finished rectangles for 20 minutes in cool water and squeeze excess water out gently. Do not twist. Lay damp rectangles on blocking boards and stretch to 44 inch width x 31 inch length (or to your desired width and length) use blocking pins to hold in place. Let your rectangles dry completely before unpinning.
Seaming:
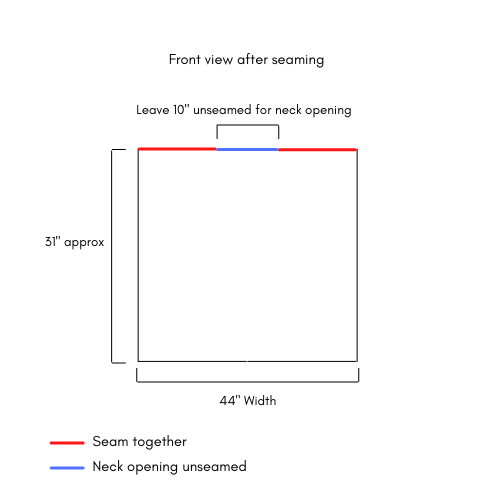
- Lay both rectangles flat on top of each other lined up with wrong sides facing outwards and the beginning ch row at the top
- Starting from the top right hand side along the ch row using a tape measure, measure 17 inches in towards the middle and place stitch marker, now do the same on the left hand side along the ch row measuring towards the middle and place stitch marker. You should now have a 10 inch gap approx for the head in the middle of the rectangles. (See schematics above)
- Using darning needle and long piece of yarn, seam across the top right hand side ch row to the stitch marker, fasten off and weave in ends.
- Using darning needle and long piece of yarn, seam across the top left hand side ch row to the stitch marker, fasten off and weave in ends.
- If you need the head space to be bigger, don’t seam as much either side of this.
Terms of use:
For personal use only. Do not copy, share or sell the pattern in part or whole.
You may sell the finished item made using this pattern.
