Learn how to crochet the Rail Runner Stitch which includes multiples so you can make whatever you like in the size you want it to be. Scroll down for the free stitch pattern BELOW!
Stitch Design
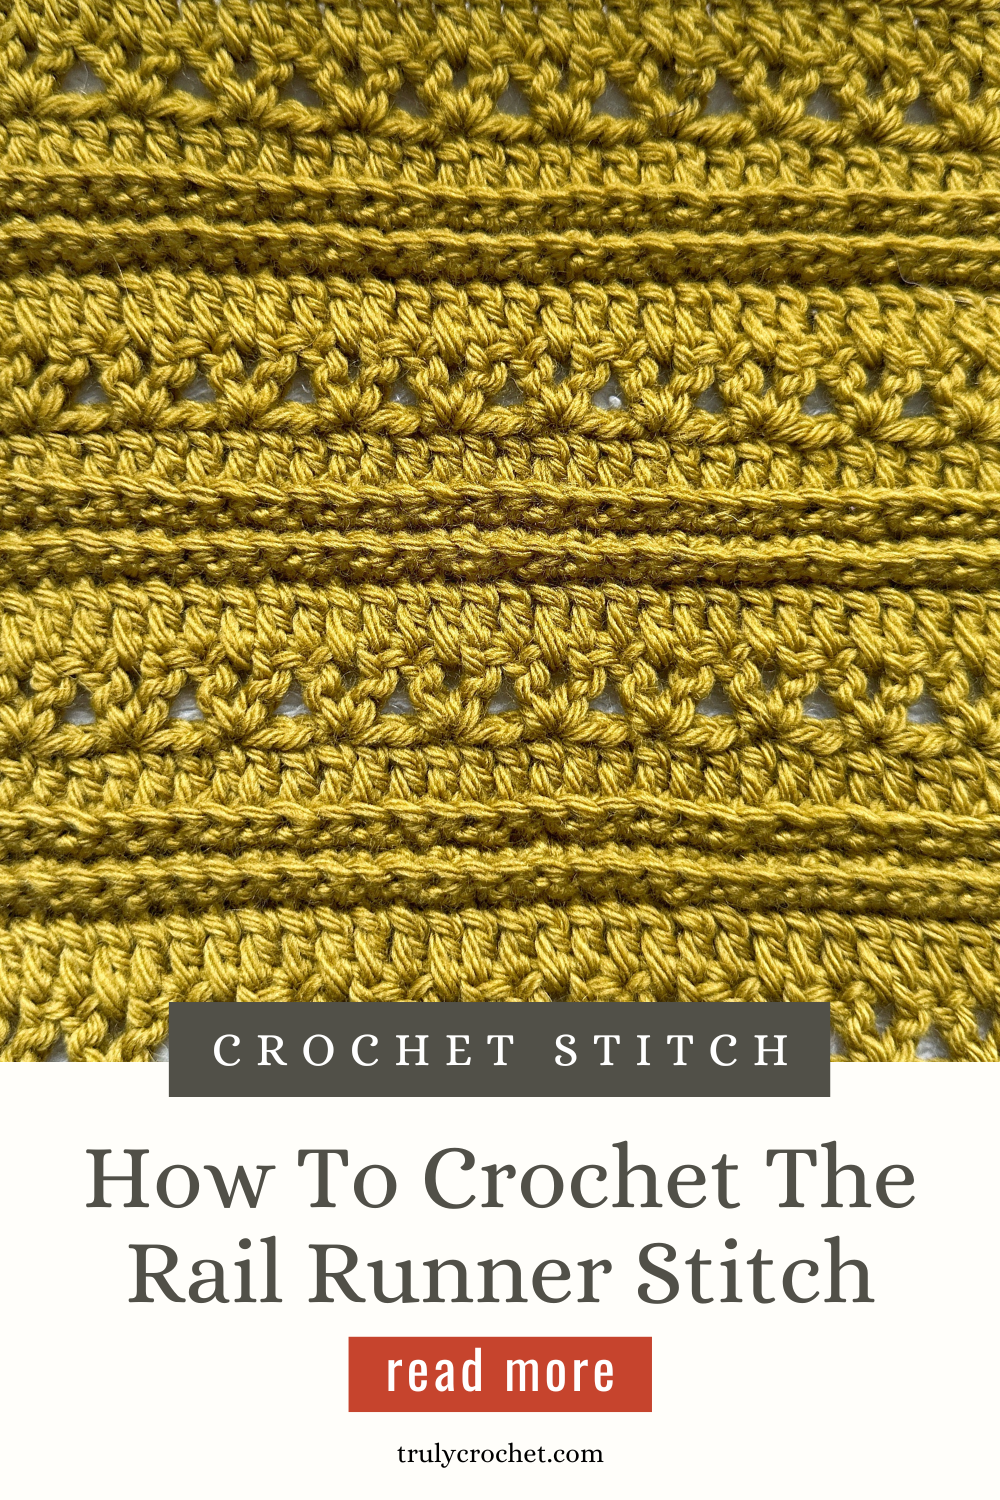
The Rail Runner Stitch is more of an intermediate crochet stitch which features the V-stitch, sc stitch but in back loops only and the dc stitch. This crochet stitch is quite a different stitch with a raised surface, when crocheting this stitch you will notice the edges wont be straight due to the different stitches being used but all it needs is either blocking, add a border or both and that will sort the uneven edges out.
Learn how to crochet the Rail Runner Stitch below by using the written pattern which features the multiples.
Here are the most common supplies you will need to crochet a new stitch:
Tips For Learning A New Crochet Stitch
Learning a new crochet stitch can be an exciting challenge. Here are some tips to make the process easier and more enjoyable:
- Choose the Right Stitch: Select a stitch that matches your skill level. If you’re a beginner, start with simple stitches and gradually work your way up to more complex ones.
- Study the Stitch: Before you begin, thoroughly understand the stitch you want to learn.
- Gather the Supplies: Ensure you have the right yarn and crochet hook size that you are comfortable with.
- Practice with Scrap Yarn: Start with scrap yarn in a light, solid color. It’s easier to see your stitches and correct any mistakes.
- Use a Larger Hook: For practice, use a crochet hook that’s slightly larger than what’s recommended for the yarn. This makes it easier to see your stitches and work more comfortably.
- Master the Tension: Pay attention to your tension. It should be even and not too tight. If your stitches are too tight, switch to a larger hook.
- Work in Good Lighting: Ensure you have adequate lighting to see your stitches clearly. This reduces eye strain and makes learning easier.
- Practice the Foundation Chain: Begin by practicing the foundation chain of the stitch. Get comfortable with the number of chains needed.
- Learn the Turning Chain: Understand the turning chain or turning stitch required at the beginning of a new row.
- Take Your Time: Don’t rush. Go slowly and focus on each step, especially when learning a new stitch.
- Use Stitch Markers: Place stitch markers at the beginning and end of rows to help you keep track of your progress.
- Count Your Stitches: Regularly count your stitches to ensure you haven’t added or skipped any by mistake.
- Keep Notes: If you’re following a pattern, jot down notes or use a highlighter to mark the steps you’ve completed.
- Practice Swatches: Create small swatches to practice the new stitch. This allows you to get comfortable with the stitch before using it in a larger project.
- Undo and Redo: Don’t be afraid to unravel your work if you make a mistake. This is part of the learning process, and redoing it reinforces your understanding of the stitch.
- Visualize the Stitch: Mentally visualize the stitch before you make it. This can help you anticipate the next step.
- Seek Guidance: If you’re stuck or confused, reach out to fellow crocheters, online communities, or local crafting groups for guidance and support.
- Practice, Practice, Practice: Like any skill, practice is key. The more you practice the new stitch, the more confident you’ll become.
- Be Patient with Yourself: Learning a new stitch takes time. Don’t get discouraged if you don’t master it right away. Keep practicing, and you’ll improve over time.
Remember that crocheting is a craft, and like any skill, it requires patience and perseverance. With practice and the right resources, you’ll soon become proficient in your new crochet stitch.
How To Crochet The Rail Runner Stitch
Abbreviations:
Ch Chain
Sc Single Crochet
Dc Double Crochet
St(s) Stitch(es)
Beg Beginning
Alt Alternatively
BLO – Back Loops Only
Written In:
This pattern is written using American standard crochet terminology.
Notes:
- This crochet pattern is worked in rows starting from the bottom working towards the top, turn your piece over at the end of each row.
- Ch1 at the start of each row does not count as a stitch throughout the pattern.
- Repeat what is in between the stars from * to * until the end of the round.
- If you have a ** in your row you need to follow the pattern from * to * across the entire row and then when you get near the end of the row you will finish your last repeat at ** because you can no longer complete the entire repeat then follow what it says to do to complete the row.
- Read each row carefully before starting the row.
Multiples:
Normal foundation chain – 3 + 8
Chainless foundation – 3 + 7
How To Crochet The Rail Runner Stitch – Written Pattern
R1. Chain your desired width using the multiples, 1dc in 2nd ch from hook and in each ch across, turn
Alt. Make a chainless foundation of dc stitches in your desired width using the multiples, turn
R2. Ch1, 2dc in very first dc, skip next 2dc * Work (1dc, ch1, 1dc) in next dc, skip next 2dc * Repeat from * to * all the way across the row until 1dc remains, 2dc in last dc, turn
R3. Ch1, 1dc in each dc across and 1dc in each ch1 space across, turn
R4. Ch1, 1sc through both loops of first dc, 1sc in BLO in each dc across until last dc, 1sc through both loops of last dc, turn
R5+R6. Ch1, 1sc through both loops of first sc, 1sc in BLO in each sc across until last sc, 1sc through both loops of last sc, turn
R7. Ch1, 1dc through both loops of first sc, 1dc in BLO in each sc across until last sc, 1dc through both loops of last sc, turn
** Note: Due to the different stitches being used in this stitch pattern you will notice very uneven edges which is completely normal – Either add a border, block your work or do both to make the edges neater. I use steam blocking which made the edges a lot straighter.
Repeat rows 2-7 until you reach your desired length finishing on row 3.
Fasten off and weave in ends.
Don’t forget to save this crochet stitch on Pinterest!
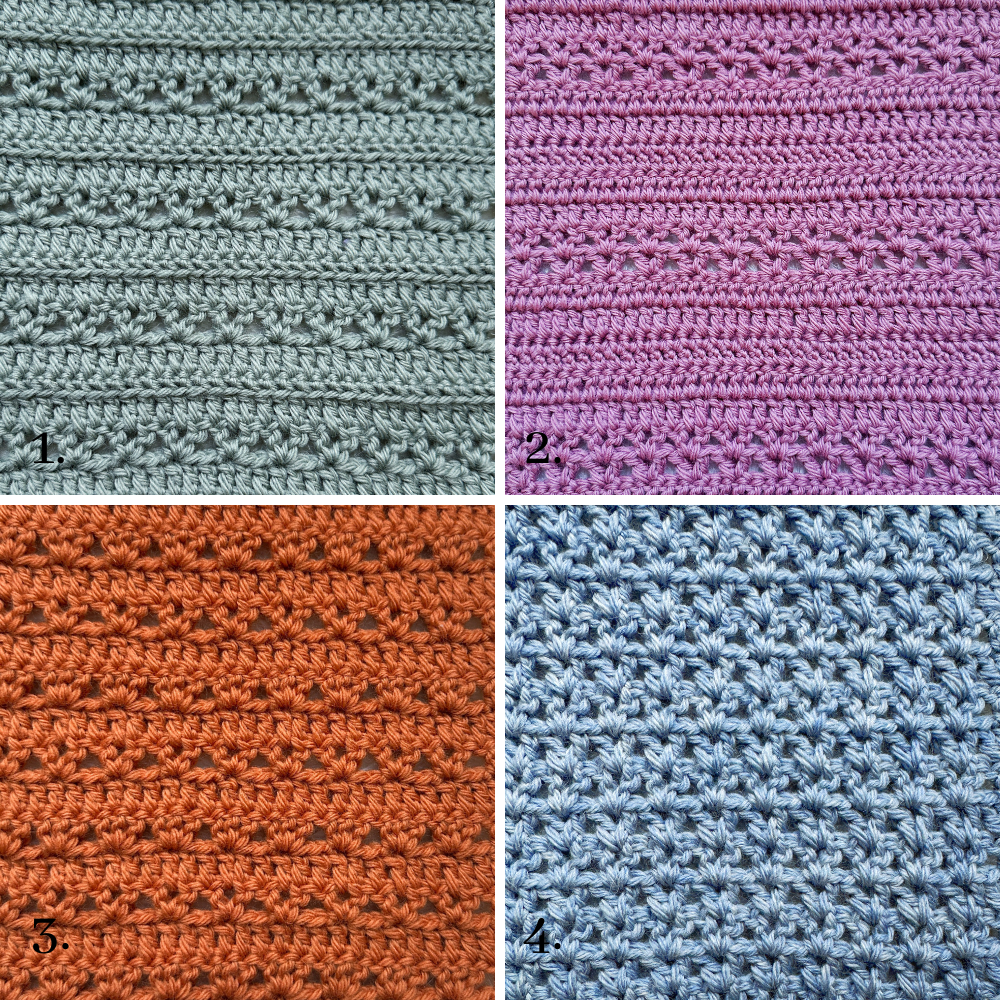
OTHER FREE CROCHET STITCH PATTERNS
Terms of use:
For personal use only. Do not copy, share or sell the pattern in part or whole.
You may sell the finished item made using this pattern.
