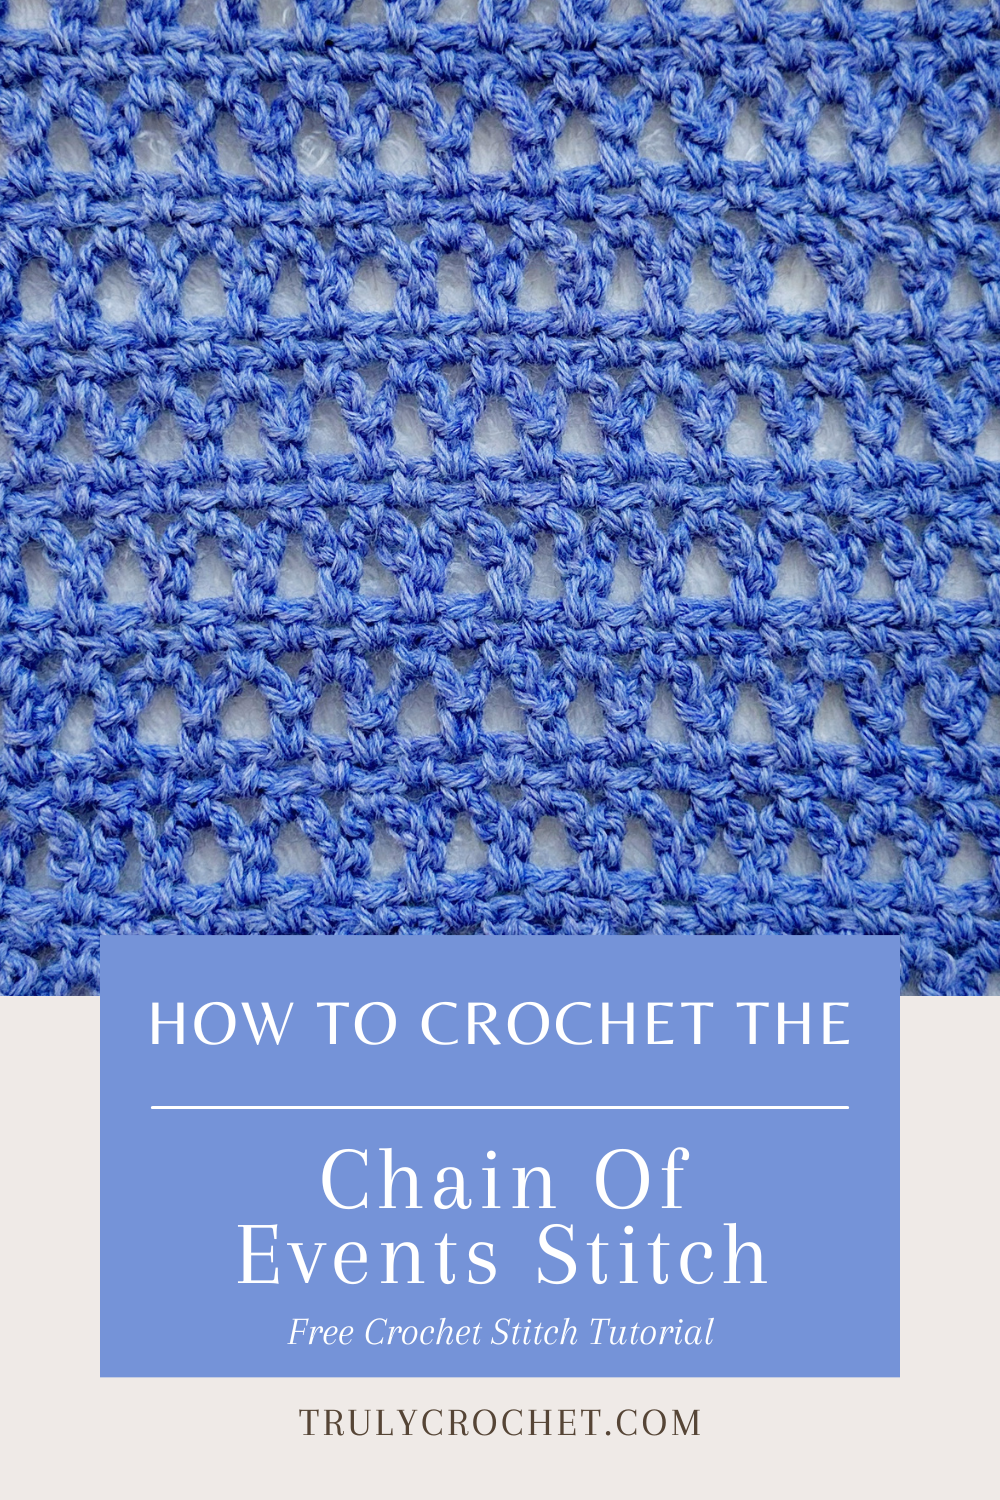
Learn how to crochet the Chain Of Events Stitch, it’s a lovely crochet stitch for an intermediate crocheter that can be used for a variety of crochet projects.
The Chain Of Events Stitch is a lovely crochet stitch pattern that only uses three crochet stitches which are the chain stitch, single crochet stitch and the double crochet stitch. I would recommend it for an intermediate crocheter as the placement is a bit harder in this crochet stitch pattern so you must know where to put your stitches and there is a 6 row repeat so it does involve some concentration, but done correctly and it does turn out beautiful! I would recommend putting a border around this stitch pattern as it looks a little untidy without.
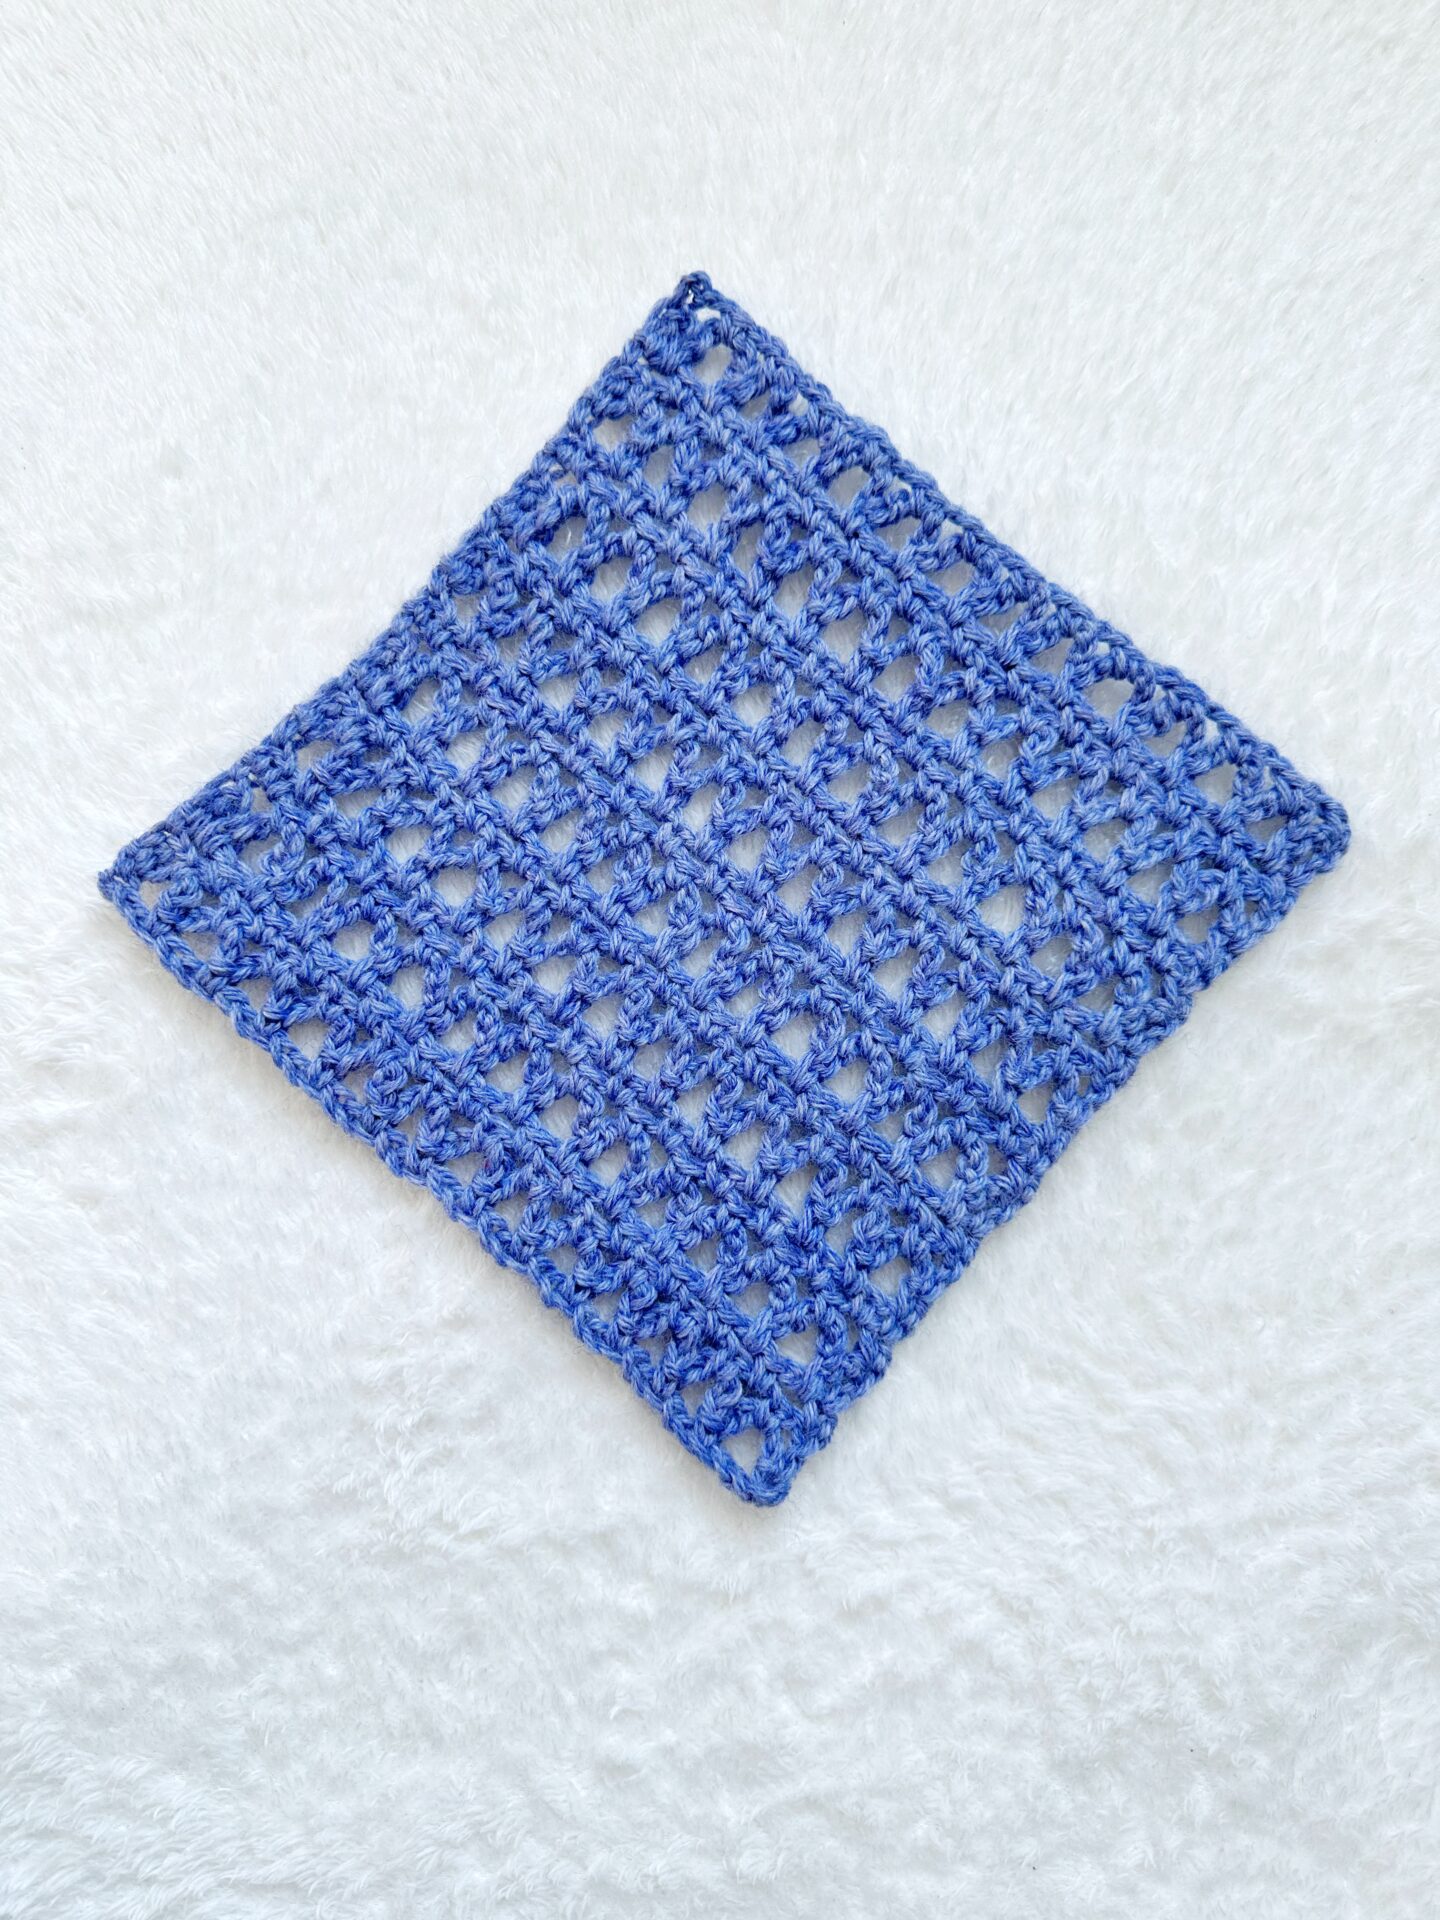
This crochet stitch gives a bit of a lacy look but not too much so it would be suitable for a blanket pattern.
What Can I Crochet With This Stitch Pattern
You can crochet many things with the chain of events stitch pattern, here are some things that you could try out:
- Dishcloth
- Blanket
- Kimono
- Mug Rug
- Summer Tee
Supplies You Will Need
Hook – Any crochet hook
Yarn – Any yarn
Yarn And Hook Recommendations
You can use any yarn and hook for this crochet stitch pattern, here are some of my most favorite yarns and hooks to use:
DK Yarn
Aran/Worsted Yarn
- 5mm crochet Hook
- Lion Brand Color Theory
- Knit Picks Wool Of The Andes Worsted
- Lion Brand Vannas Choice
- Lion Brand 24/7 Cotton
Bulky/Chunky Yarn
Super Bulky/Super Chunky Yarn
- 9mm Crochet Hook
- 10mm Crochet Hook
- Lion Brand Wool Ease Thick & Quick
- Lion Brand Feels Like Butta
- Bernat Softee Chunky
Abbreviations Used
Ch – Chain
Sc – Single Crochet
Dc – Double Crochet
St(s) Stitch(es)
Beg Beginning
Written In
This pattern is written using American standard crochet terminology.
Multiples
The multiple for this pattern is 3 + 2
Example: 3 x 25 = 75 + 2 = Ch77
Notes
- The photo tutorial for this stitch is after the written instructions
- Ch1 at the start of each row does not count as a stitch from here and throughout.
- Repeat what is in between the stars from * to * until the end of the row
- If you have ** in the row you are following – You will need to stop at ** near the end of the row and then follow the instructions before the word turn
- Read each row carefully before starting the row
Chain Of Events Stitch Pattern – Written Instructions
R1. Ch41, 1sc in 2nd ch from hook * Ch5, skip next 2 chains, 1sc in next chain * Repeat from * to * across the row, turn
R2. Ch1, 1dc in very first sc, ch1, work (1sc, ch2) in each ch5 space across, skipping all sc stitches in between until last ch5 space, 1sc in last ch5 space, ch1, 1dc in very last sc, turn
R3. Ch1, 1sc in very first dc, ch2, skip next ch1 space, skip next sc, work (1sc, ch2) in each ch2 space across, skipping all sc stitches in between until last ch2 space, 1sc in last ch2 space, ch2, skip next sc, skip next ch1 space, 1sc in very last dc, turn
R4. Ch1, 1dc in very first sc, ch2, 1sc in first ch2 space, work (ch5, 1sc) in each ch2 space across, skipping all sc stitches in between, work a ch2 after the sc in the last ch2 space, 1dc in very last sc, turn
R5. Ch1, 1sc in very first dc, ch2, skip ch2 space, skip next sc, work (1sc, ch2) in each ch5 space across, skipping all sc stitches in between until last ch5 space, work (1sc, ch2) in last ch5 space, skip next sc, skip ch2 space, 1sc in very last dc, turn
R6. Ch1, 1sc in very first sc, ch1, work (1sc, ch2) in each ch2 space across, skipping all sc stitches in between until last ch2 space, 1sc in last ch2 space, ch1, 1sc in very last sc, turn
R7. Ch1, 1sc in very first sc, ch5, skip ch1 space, skip next sc, work (1sc, ch5) in each ch2 space across, skipping all sc stitches in between until last ch2 space, 1sc in last ch2 space, ch5, skip next sc, skip ch1 space, 1sc in very last sc, turn
Repeat rows 2-7 until you reach your desired length – Fasten off
Tip: If you would like your top edge to be straight, finish on row 2 or row 5.
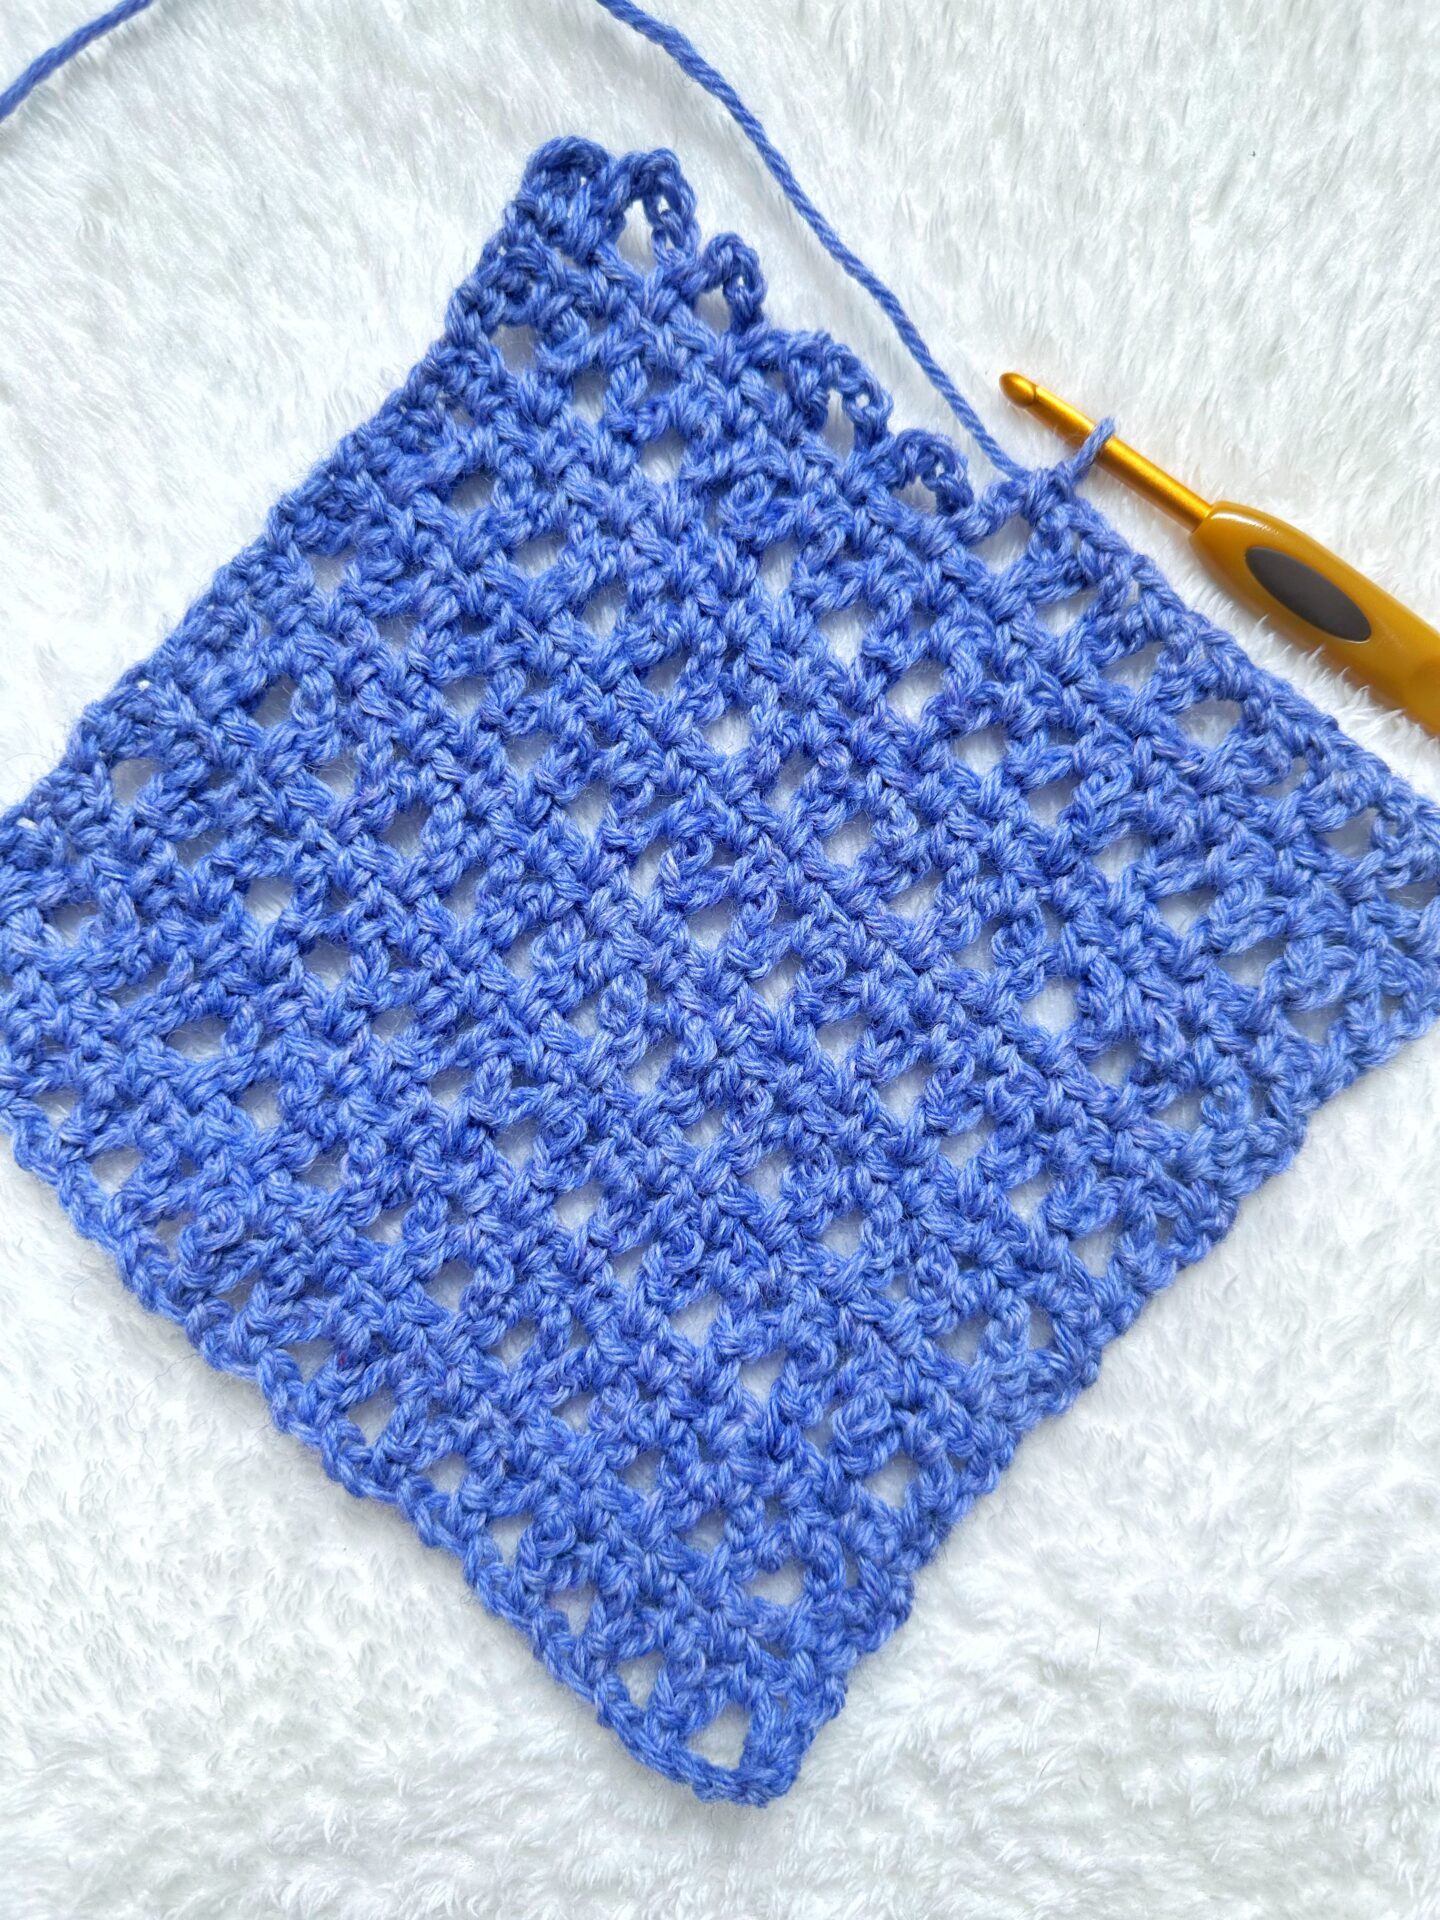
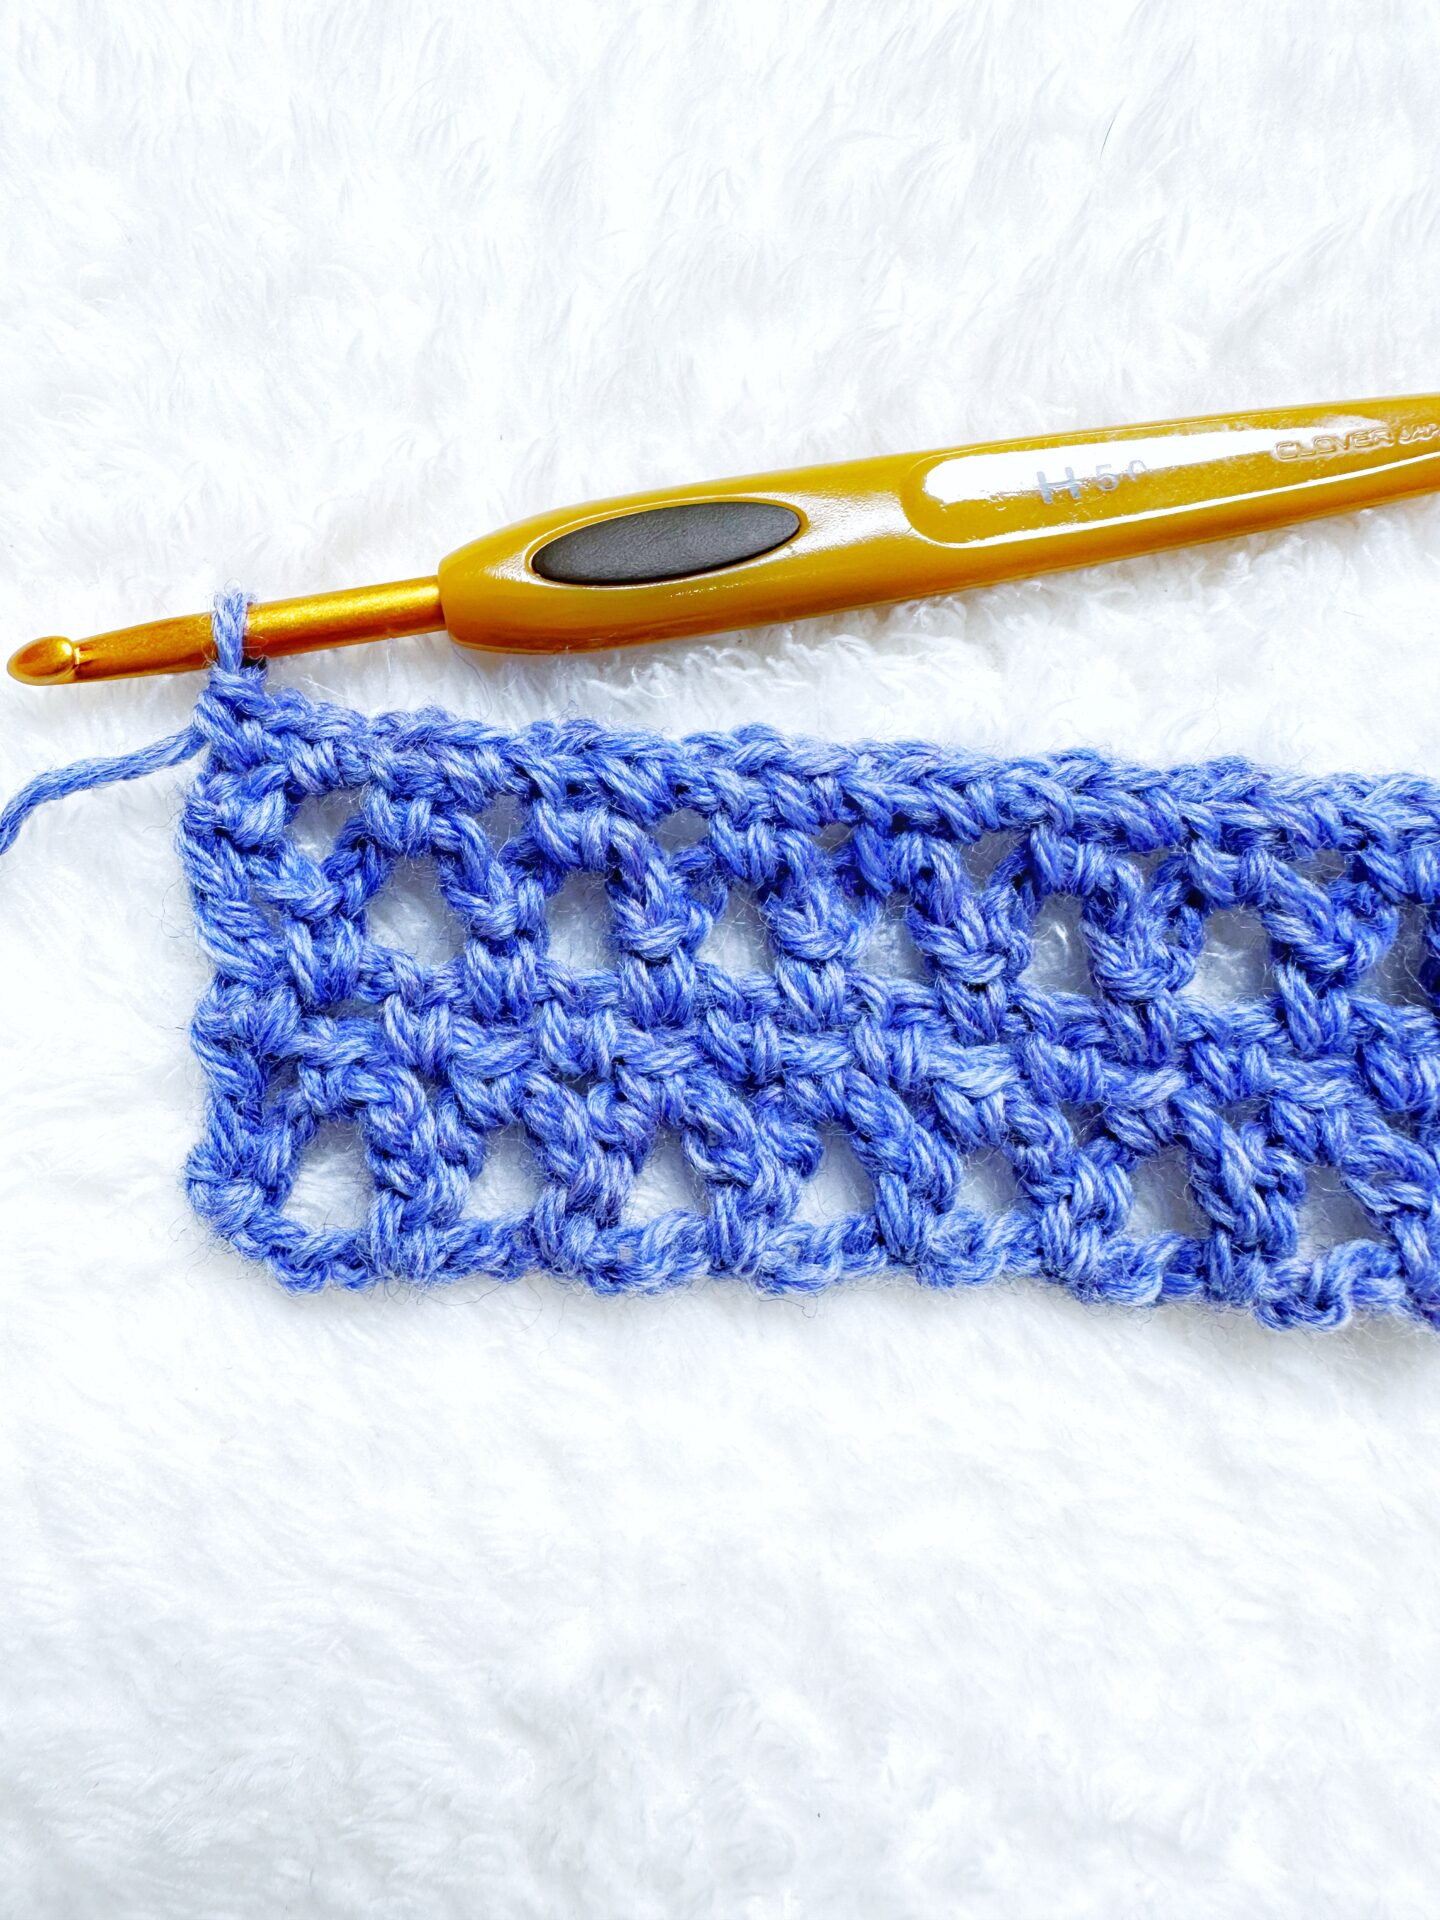
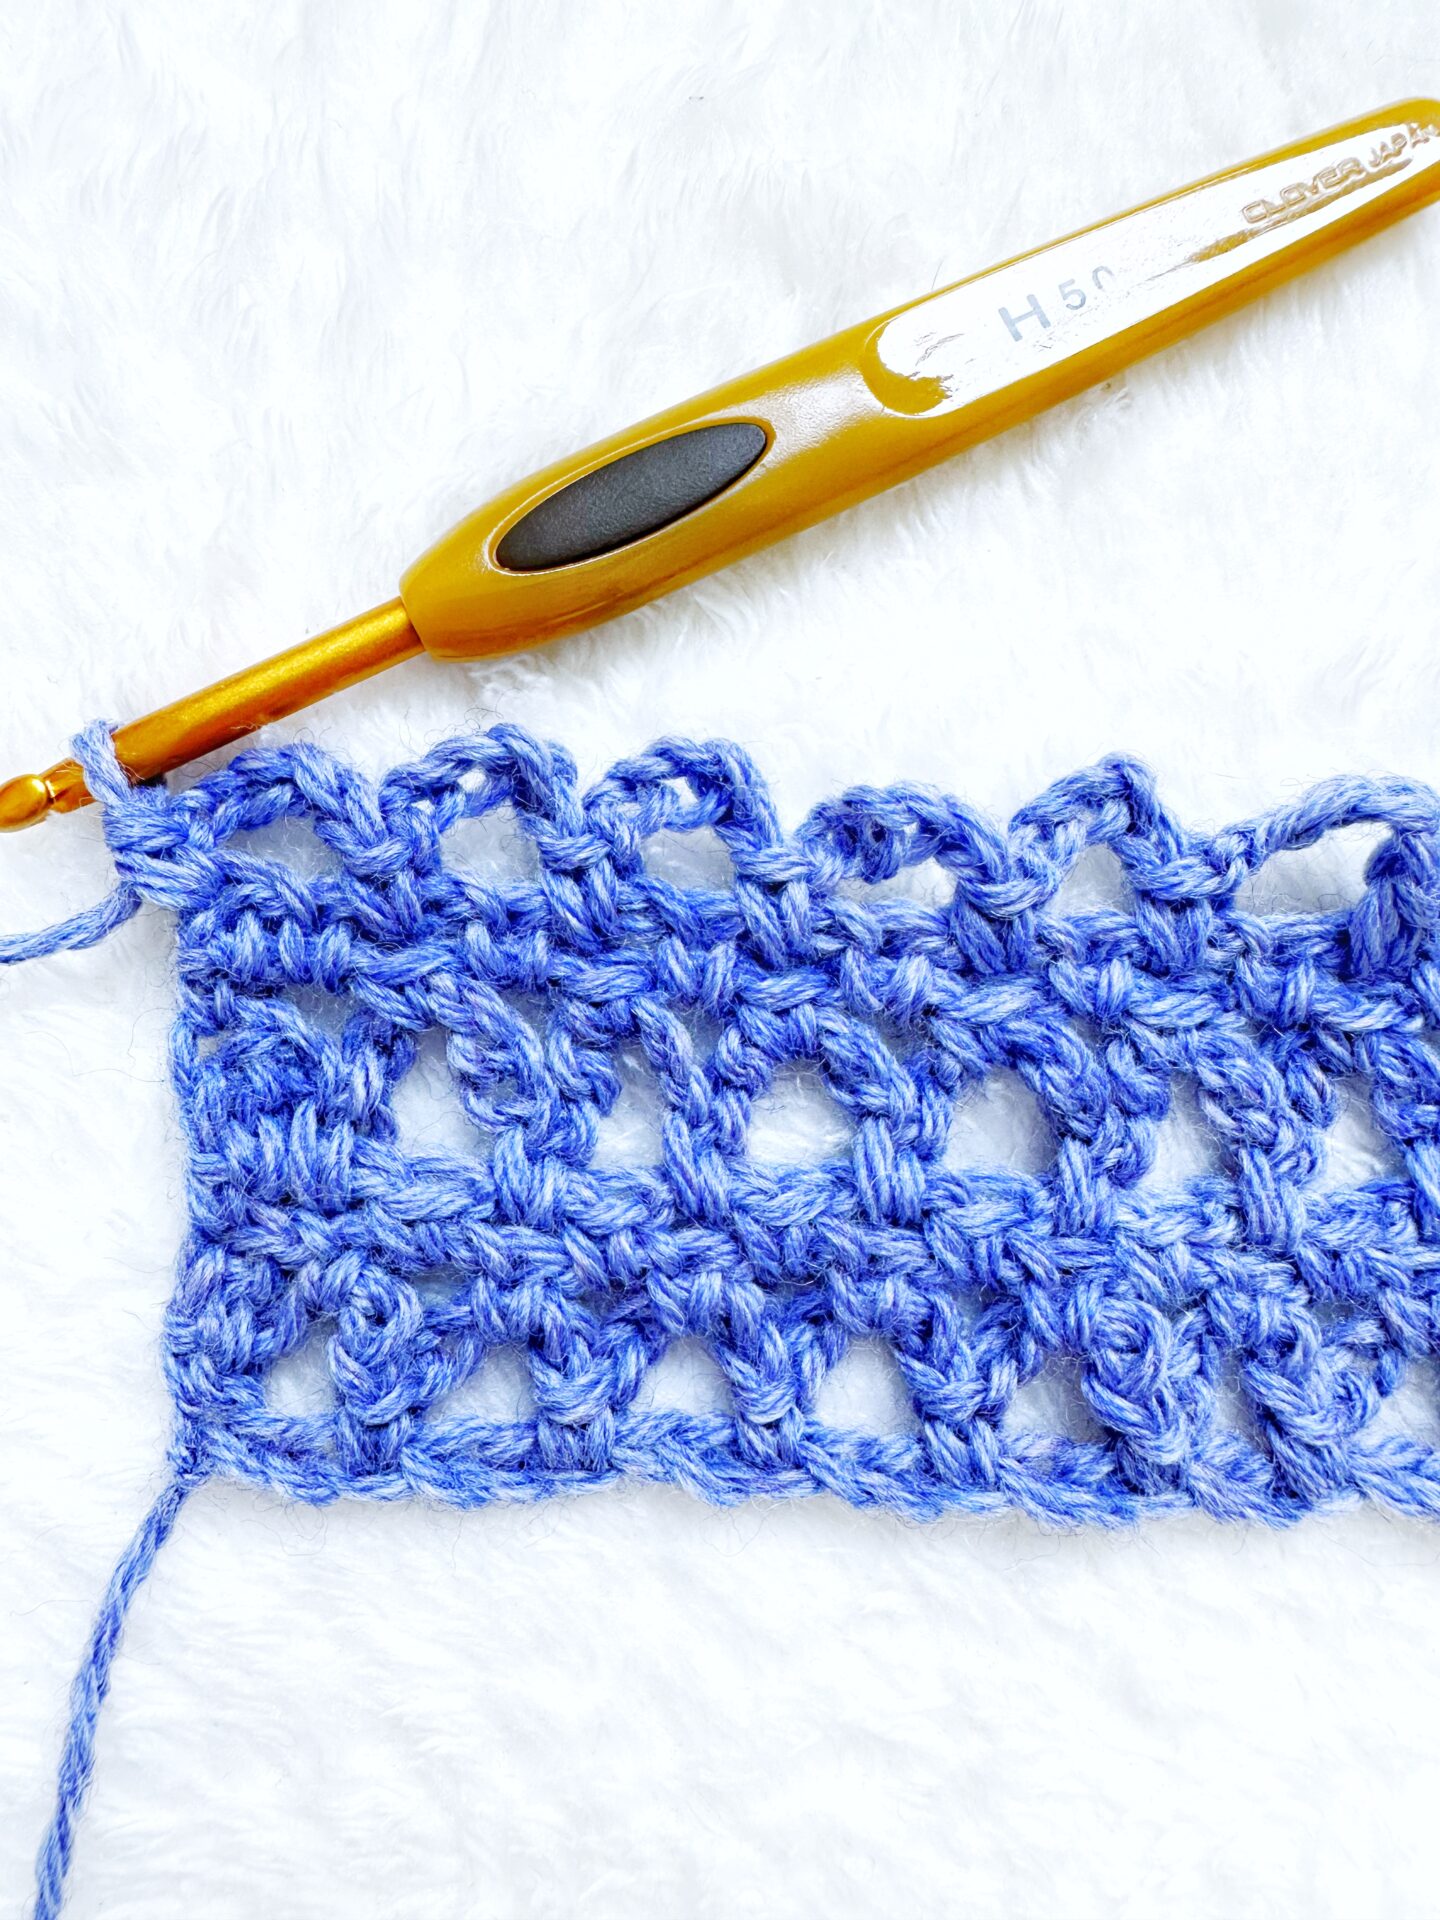
Chain Of Events Stitch Pattern – Photo Tutorial
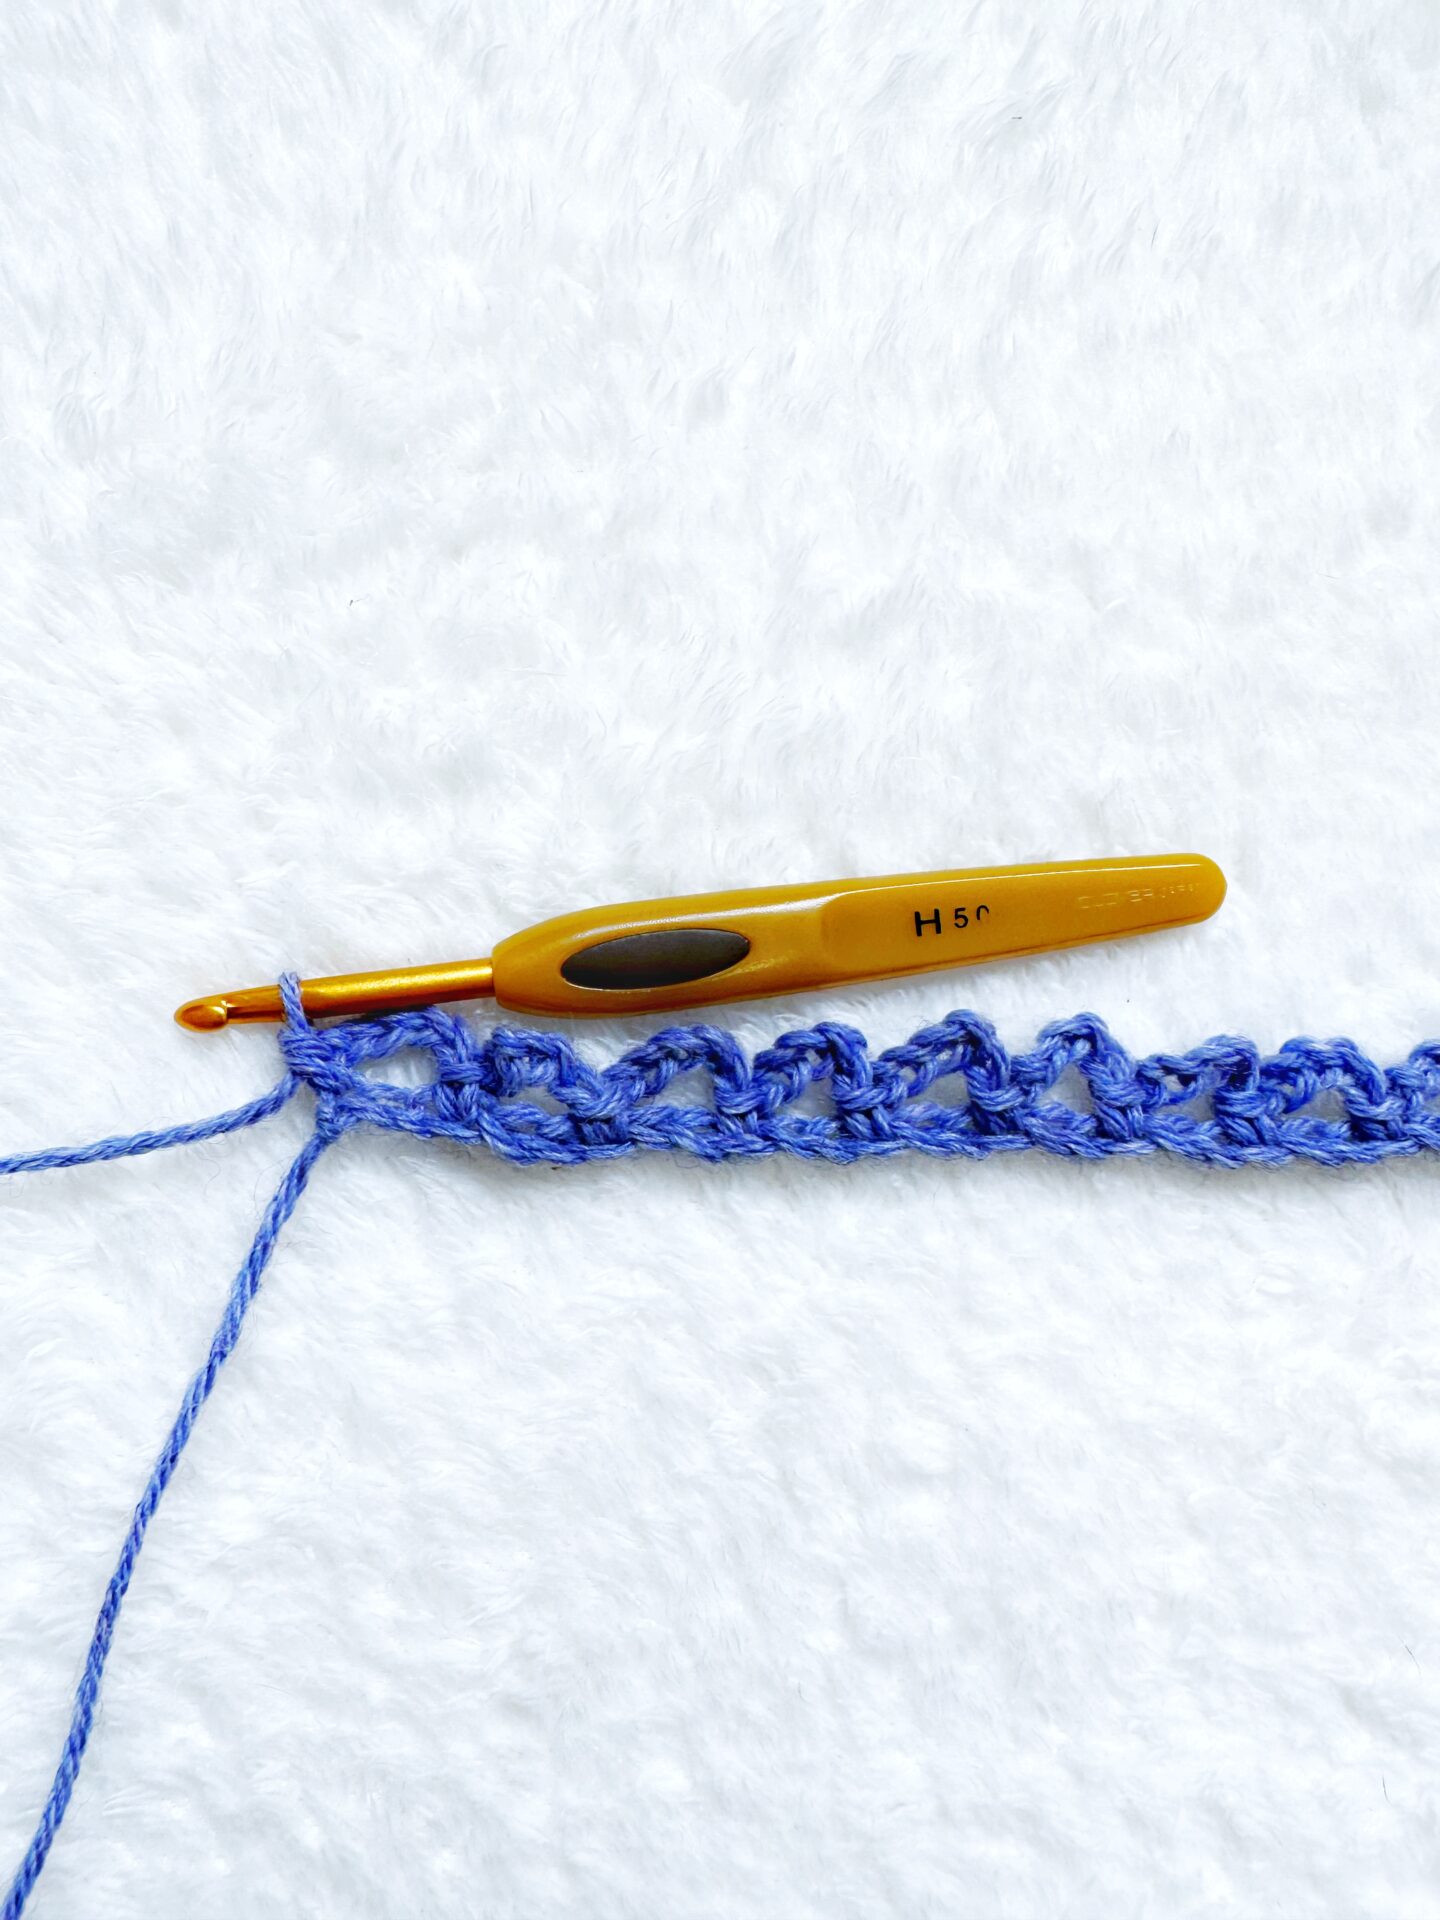
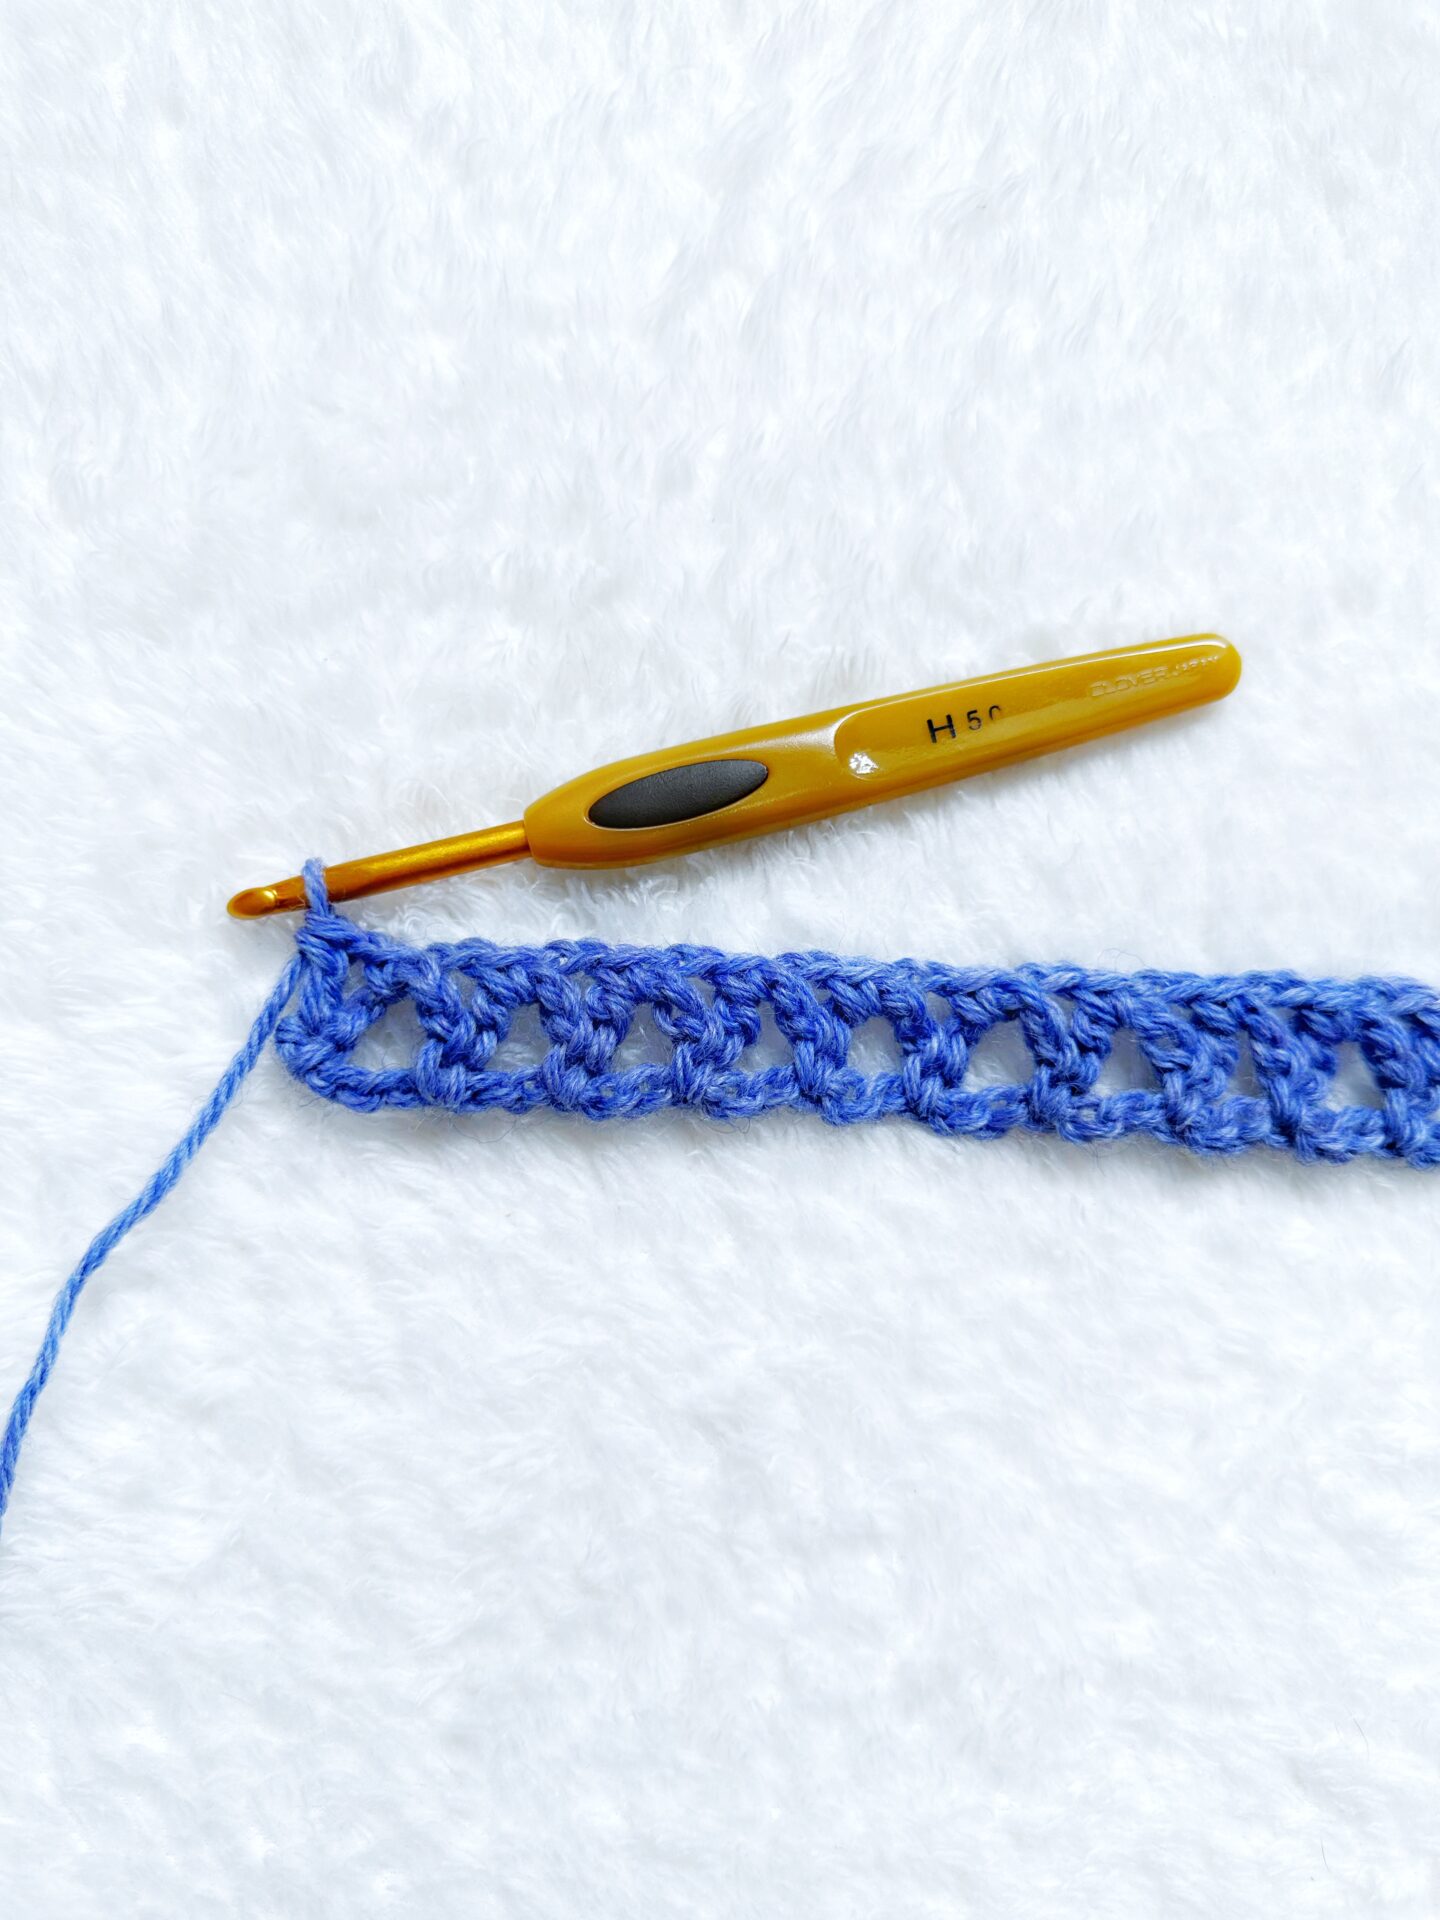
R1. Ch41, 1sc in 2nd ch from hook * Ch5, skip next 2 chains, 1sc in next chain * Repeat from * to * across the row, turn
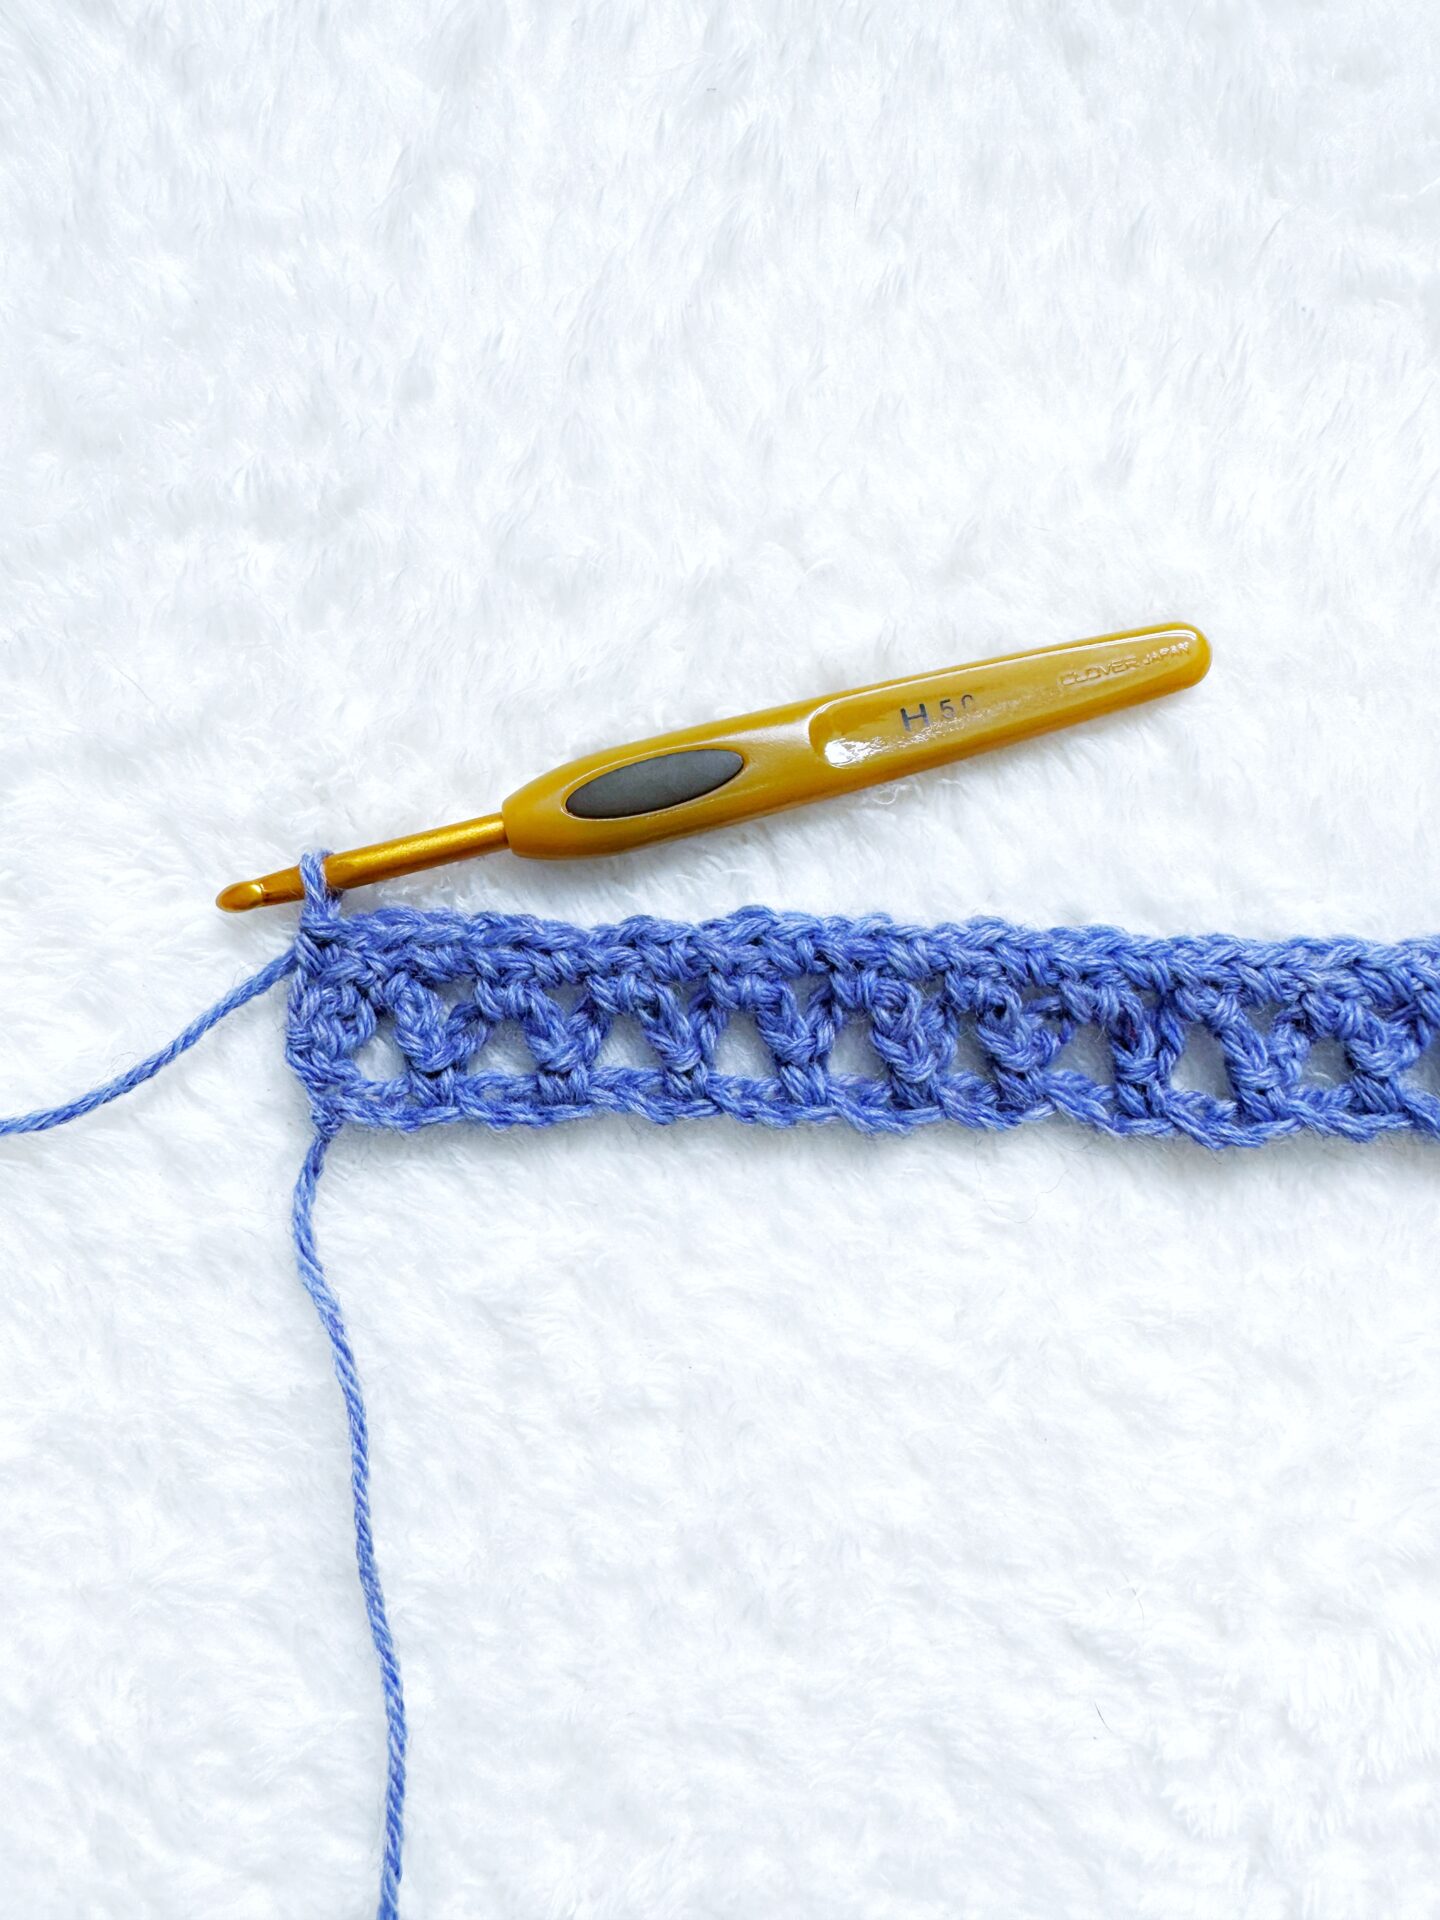
R2. Ch1, 1dc in very first sc, ch1, work (1sc, ch2) in each ch5 space across, skipping all sc stitches in between until last ch5 space, 1sc in last ch5 space, ch1, 1dc in very last sc, turn
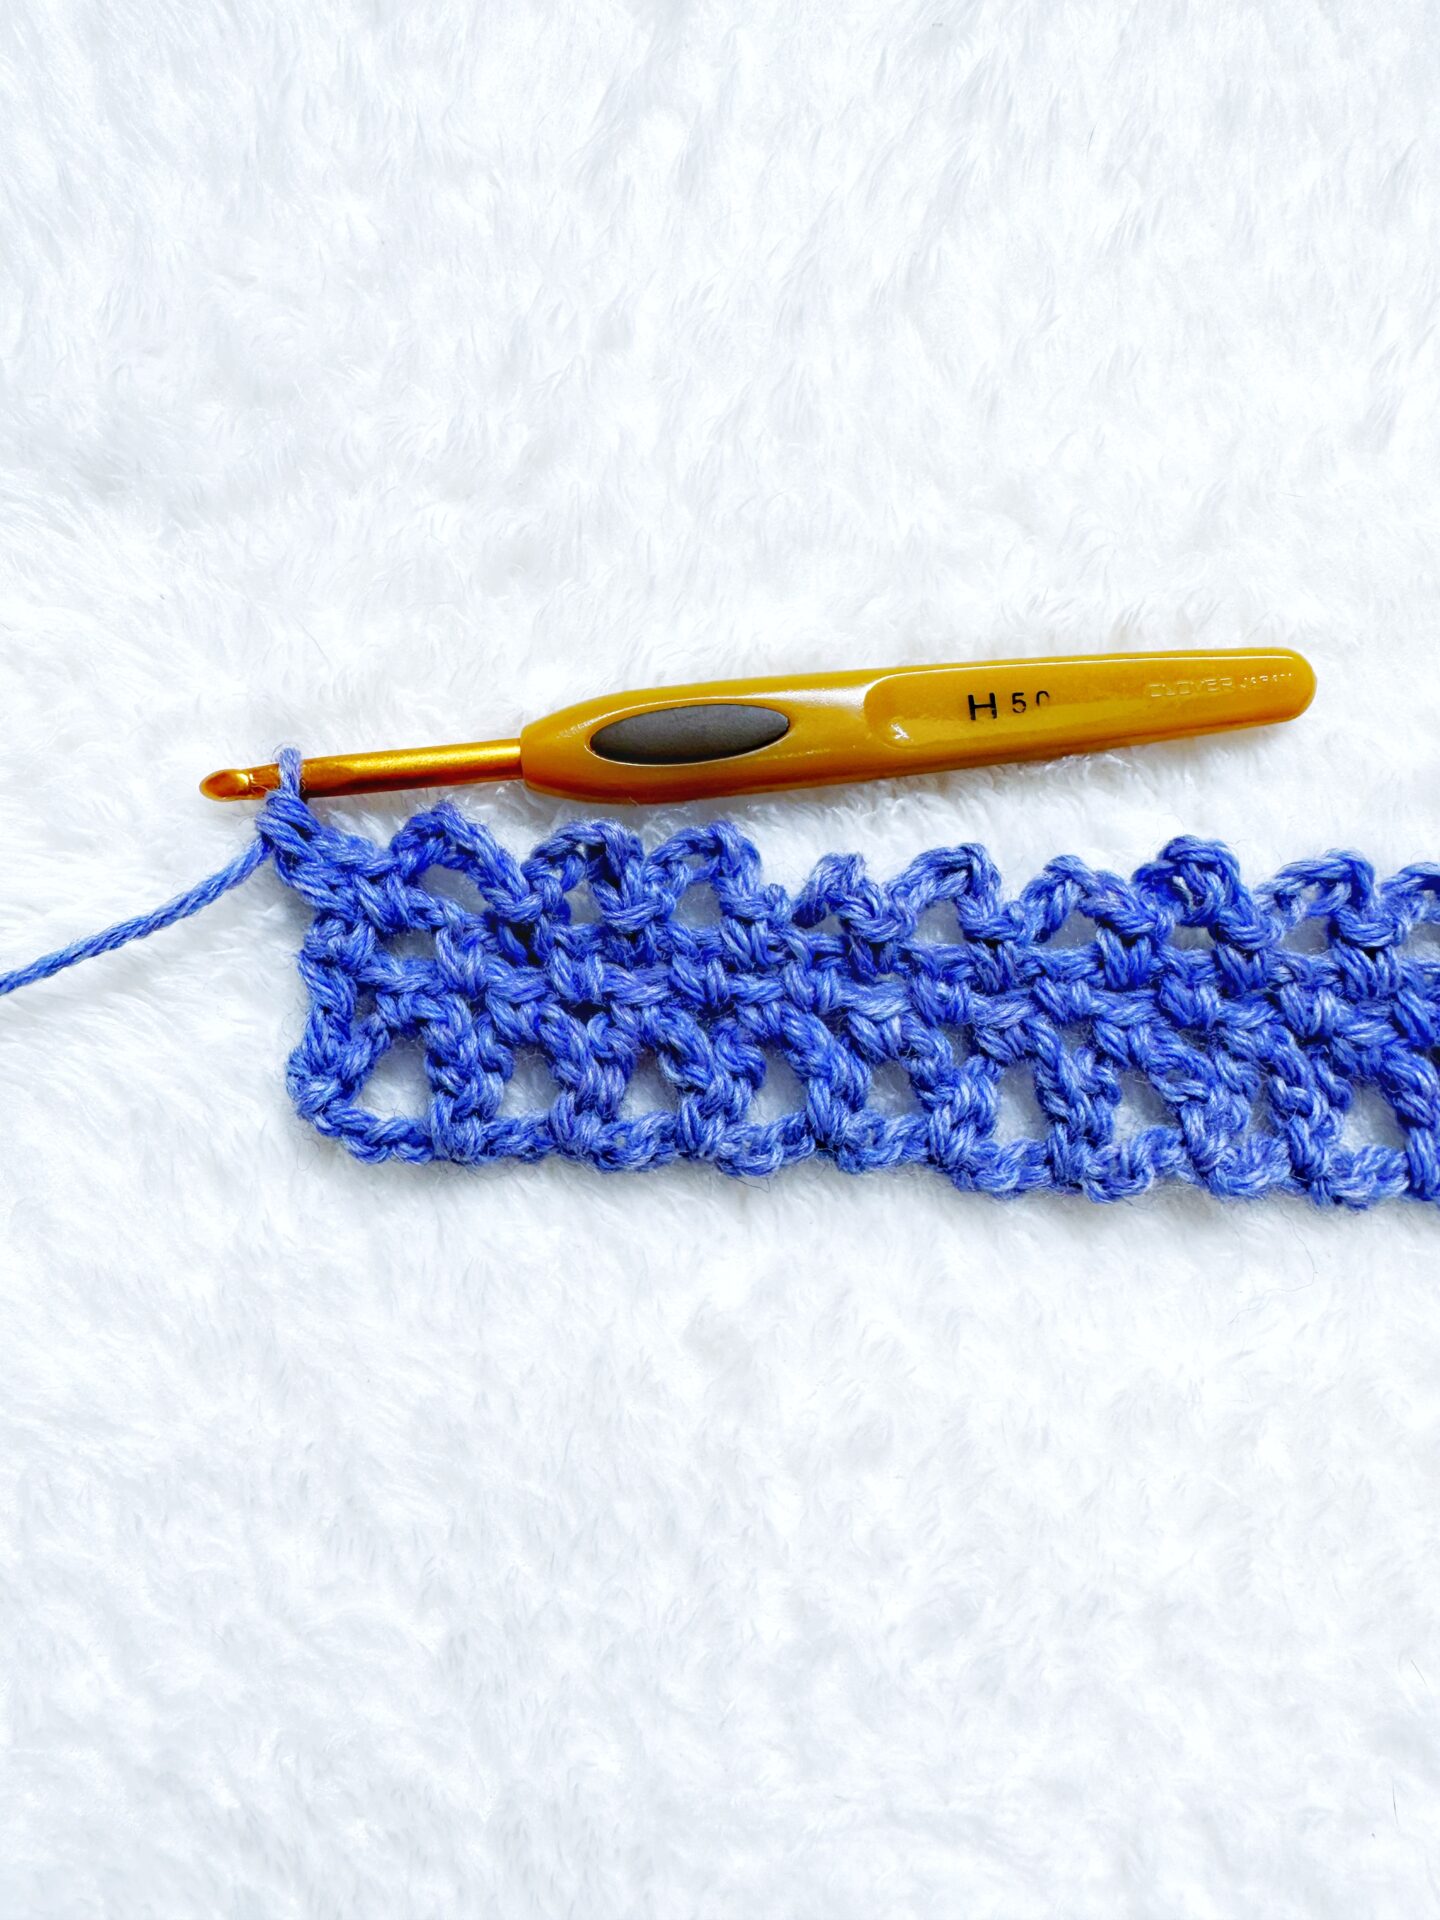
R3. Ch1, 1sc in very first dc, ch2, skip next ch1 space, skip next sc, work (1sc, ch2) in each ch2 space across, skipping all sc stitches in between until last ch2 space, 1sc in last ch2 space, ch2, skip next sc, skip next ch1 space, 1sc in very last dc, turn
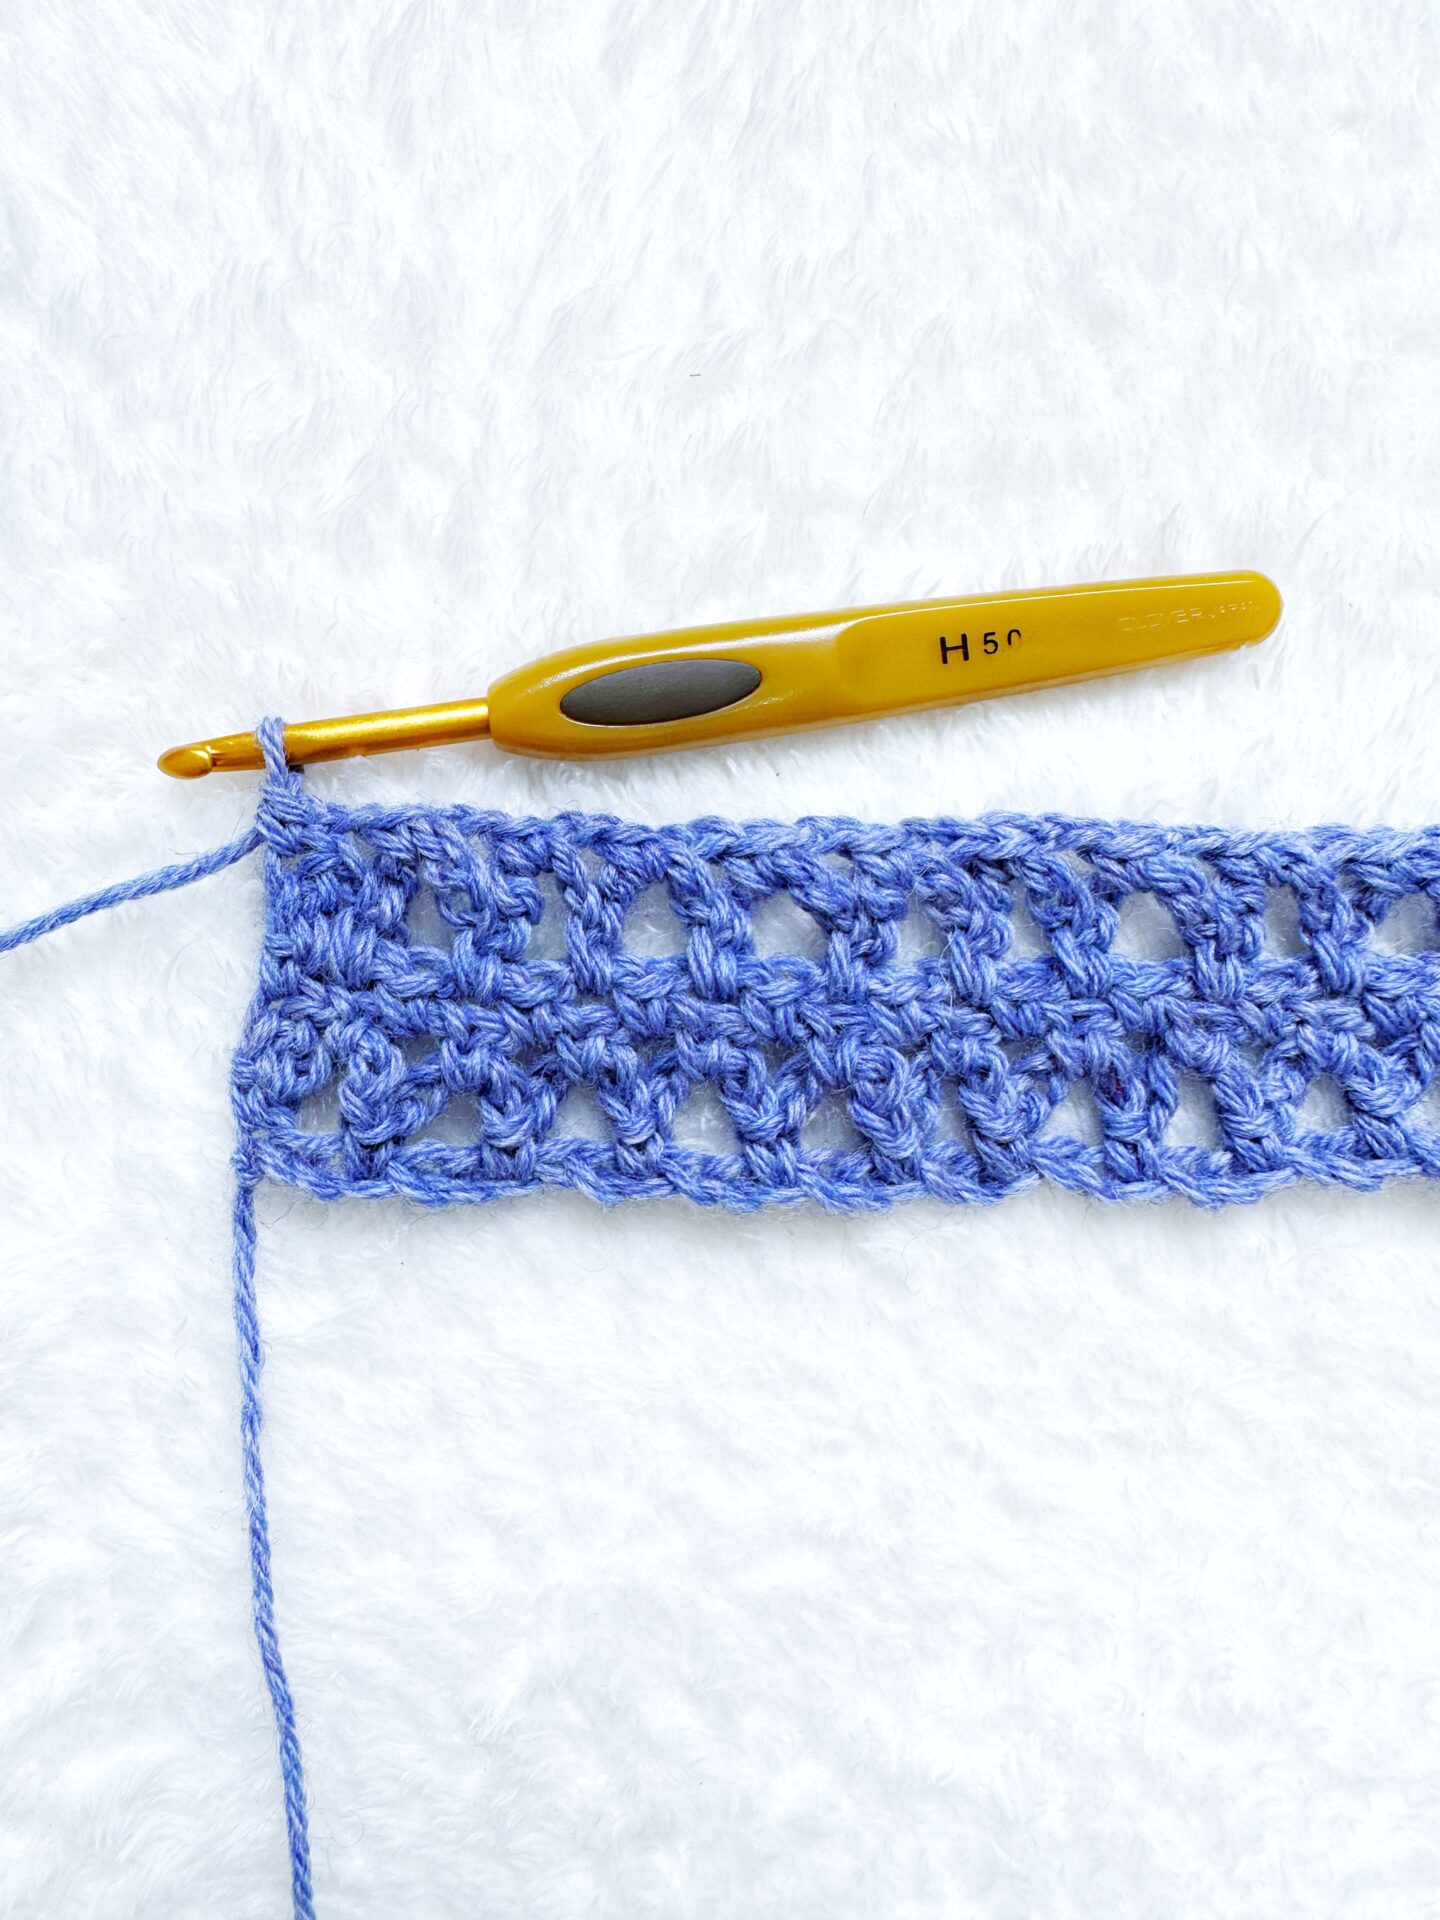
R4. Ch1, 1dc in very first sc, ch2, 1sc in first ch2 space, work (ch5, 1sc) in each ch2 space across, skipping all sc stitches in between, work a ch2 after the sc in the last ch2 space, 1dc in very last sc, turn
R5. Ch1, 1sc in very first dc, ch2, skip ch2 space, skip next sc, work (1sc, ch2) in each ch5 space across, skipping all sc stitches in between until last ch5 space, work (1sc, ch2) in last ch5 space, skip next sc, skip ch2 space, 1sc in very last dc, turn
R6. Ch1, 1sc in very first sc, ch1, work (1sc, ch2) in each ch2 space across, skipping all sc stitches in between until last ch2 space, 1sc in last ch2 space, ch1, 1sc in very last sc, turn
R7. Ch1, 1sc in very first sc, ch5, skip ch1 space, skip next sc, work (1sc, ch5) in each ch2 space across, skipping all sc stitches in between until last ch2 space, 1sc in last ch2 space, ch5, skip next sc, skip ch1 space, 1sc in very last sc, turn
Repeat rows 2-7 until you reach your desired length – Fasten off
Tip: If you would like your top edge to be straight, finish on row 2 or row 5.
Chain Of Events Stitch Questions
Will I Need To Block This Stitch?
I would advise you to block this crochet stitch pattern if you are not putting a border around it.
How Do I Block My Crochet Projects?
Don’t be scared to really stretch the stitches when blocking as it really opens up the stitches and gives it definition and makes your piece lay completely flat.
This works best with natural fiber yarns like wool or merino. Soak your finished project for 20 minutes in cool water and squeeze excess water out gently. Do not twist. Lay your damp project on blocking boards and stretch to your desired width and length use blocking pins to hold in place. Let your crochet project dry completely before unpinning.
This works best with synthetic yarns like acrylic. You can steam block your crochet project with either a hand steamer or the steam function on an iron. Just be careful not to directly touch the crochet project as it will burn the yarn. Hold one inch above the crochet piece and flatten piece down with your hand whilst gently stretching it out.
How Do I Change Colors?
I would advise changing colors at the end of the row by working until the last stitch of the row in the old color and add the new color in before completing your last yarn over so it is ready for the next row in the new color.
More Crochet Stitches To Try
I hope you enjoyed this crochet stitch! If you did enjoy this free crochet stitch pattern why not try out some of these:
- Two single crochet stitch
- Puff stitch ripple
- Connection stitch
- Two double crochet stitch
What’s Next?
Pin this post for later – Save this crochet stitch on one of your Pinterest boards for later so that you can always come back to it.
Save to Ravelry for later.
Share – Tag me on Facebook or Instagram @trulycrochet – I love seeing what you get up to with our tutorials and patterns!
