If you’re looking for a stitch that’s both easy and visually striking, the V Stitch is the perfect crochet technique to add to your toolbox. Scroll down for the free stitch pattern BELOW!
Description For The V Stitch:
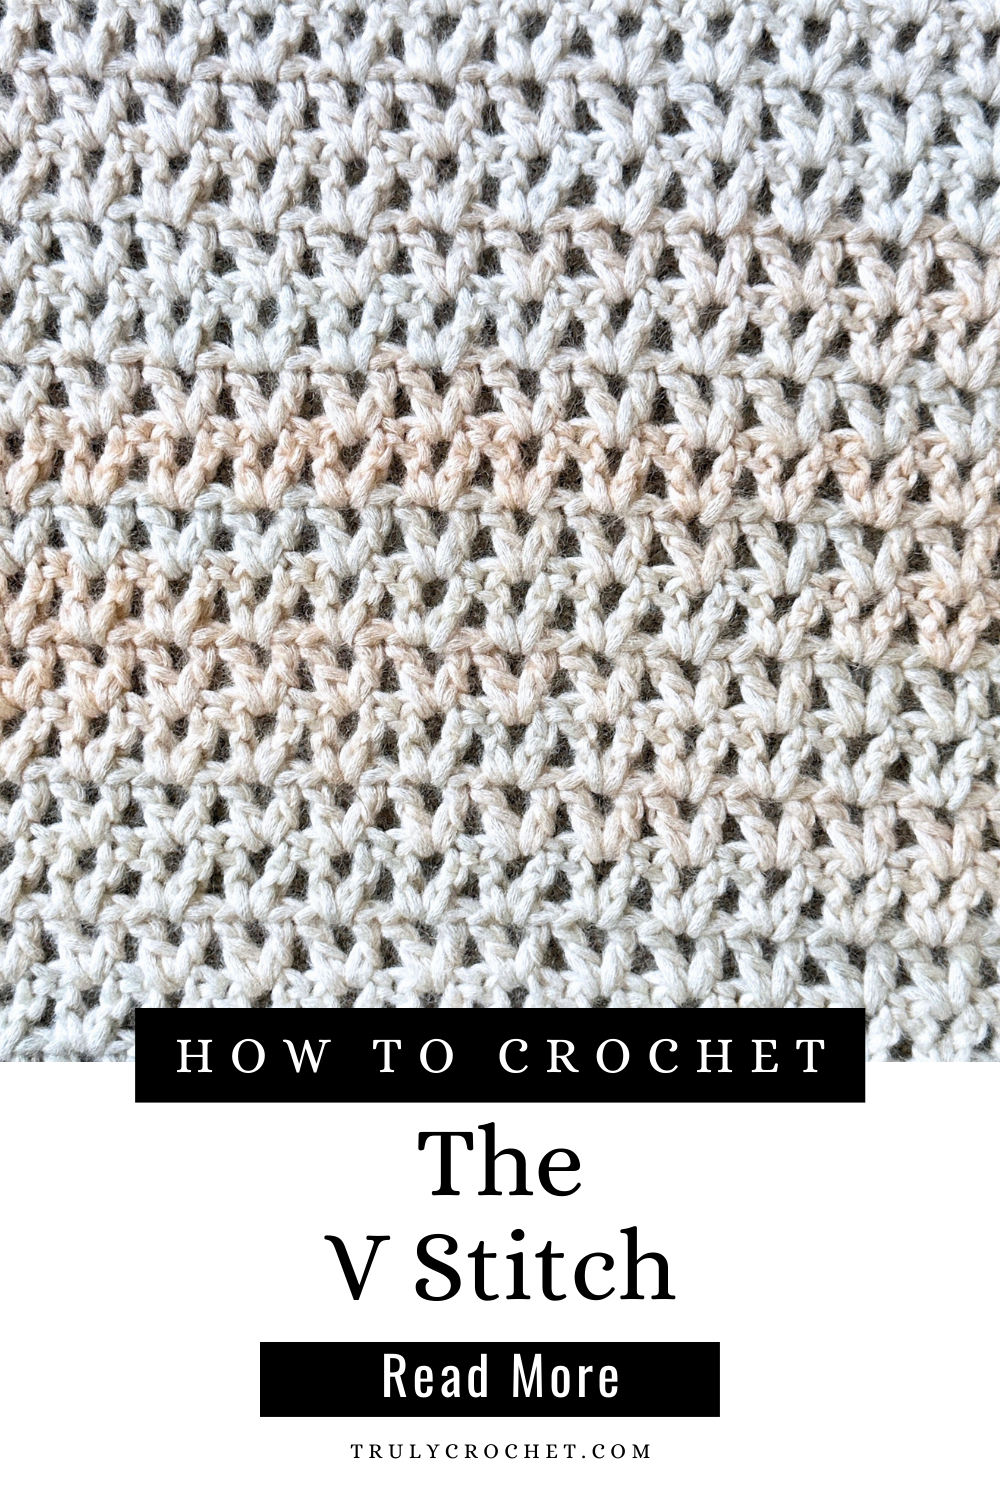
The V stitch is a crochet classic that brings effortless elegance and versatility to any project! Its distinctive shape, resembling tiny “Vs,” creates a beautifully open and lacy texture, making it perfect for everything from airy shawls and scarves to stylish home décor like table runners and light throws. What makes the V stitch so exciting is its balance of simplicity and visual appeal—it’s straightforward enough for confident beginners yet offers endless creative possibilities for experienced crocheters.
Play with bold colors for striking patterns, or stick to neutrals for a subtle, sophisticated look. The rhythmic flow of the V stitch is not only meditative but also satisfying as you watch your project quickly take shape. If you’re looking for a stitch that’s light, breezy, and packed with potential, this free crochet pattern for the V stitch is just the thing to inspire your next masterpiece.
Unique and Fun Crochet Patterns to Challenge Yourself:
- Crochet Cat Squares Pattern
- Alpine Baby Romper Pattern
- Plush dog Pattern Bundle
- Hudson Throw Pattern
- Grandmas German Shell Shawl Pattern
Versatile and Vibrant: Discover the Beauty of the V Stitch in Your Crochet Projects:
Materials Used:
Stitches Used:
- Ch – Chain
- Dc – Double Crochet
Notes:
- This pattern is written using American standard crochet terminology.
- This crochet pattern is worked in rows starting from the bottom working towards the top, turn your piece over at the end of each row.
- Ch1 at the start of each row does not count as a stitch throughout the pattern.
- Repeat what is in between the stars from * to * until the end of the round.
- If you have a ** in your row you need to follow the pattern from * to * across the entire row and then when you get near the end of the row you will finish your last repeat at ** because you can no longer complete the entire repeat then follow what it says to do to complete the row.
- Read each row carefully before starting the row.
Multiples:
- 3
Written Instructions for the V Stitch:
- Become a crochet stitch member! Join our Crochet Stitch Club – 7 day FREE trial!
R1. Chain your desired width using the multiples above, Work (1dc, ch1, 1dc) in 4th ch from the hook * Skip next 2chs, Work (1dc, ch1, 1dc) in next ch * Repeat from * to * all the way across the row until 2 chains remain, skip next chain, 1dc in last chain, turn
R2. Ch1, 1dc in very first dc, skip next dc, Work (1dc, ch1, 1dc) in next ch1 space * Skip next 2dc, Work (1dc, ch1, 1dc) in next ch1 space * Repeat from * to * all the way across the row until 1dc and the turning chain remains, skip next dc, 1dc in top of turning chain, turn
R3. Ch1, 1dc in very first dc, skip next dc, Work (1dc, ch1, 1dc) in next ch1 space * Skip next 2dc, Work (1dc, ch1, 1dc) in next ch1 space * Repeat from * to * all the way across the row until 2dc remain, skip next dc, 1dc in last dc, turn
Repeat row 3 until you reach your desired length.
Fasten off and weave in ends.
MORE CROCHET STITCH TUTORIALS
If you liked this article, you might be interested in these related crochet stitch tutorials:
- The Blanket Stitch
- The Puff Ripple Stitch
- The Shell Stitch
- The Double Crochet Stitch
- The Granny Stitch
WHERE TO NEXT?
- You can find my other free crochet stitches here.
- Pin this post: Save this tutorial to your Pinterest boards so that you can come back to it later.
- Leave a comment: Leave a comment below, we love to hear your feedback!
- Share on Instagram: When you make this project, share it on social media and tag me @trulycrochet. We love to see what you are currently making!
TERMS OF USE:
These Terms of Use apply to all the patterns and tutorials made by Truly Crochet. All of the patterns and tutorials are for personal use only and belong to Truly Crochet.
- You are not allowed to copy, reproduce, adjust, distribute or sell Truly Crochet patterns and tutorials in whole or in part.
- You are not allowed to distribute and/or sell the translations of Truly Crochet patterns and tutorials in whole or in part.
- You can sell finished items made using Truly Crochet patterns, however, you have to give credit to Truly Crochet for the actual design.
- You are not allowed to use Truly Crochet photos without written permission.
- You are not allowed to copy and paste Truly Crochet patterns or tutorials to social media or anywhere else in whole or in part.
- If you would like to share the patterns, you can give a link to the Truly Crochet website www.trulycrochet.com.
